
Store.link allows you to create a complete e-commerce website quickly and effortlessly by using Google Sheets. Each row in the sheet corresponds to a product, making it simple to add, edit, and organize your inventory. Follow these steps to build your online store step-by-step.
Getting Started
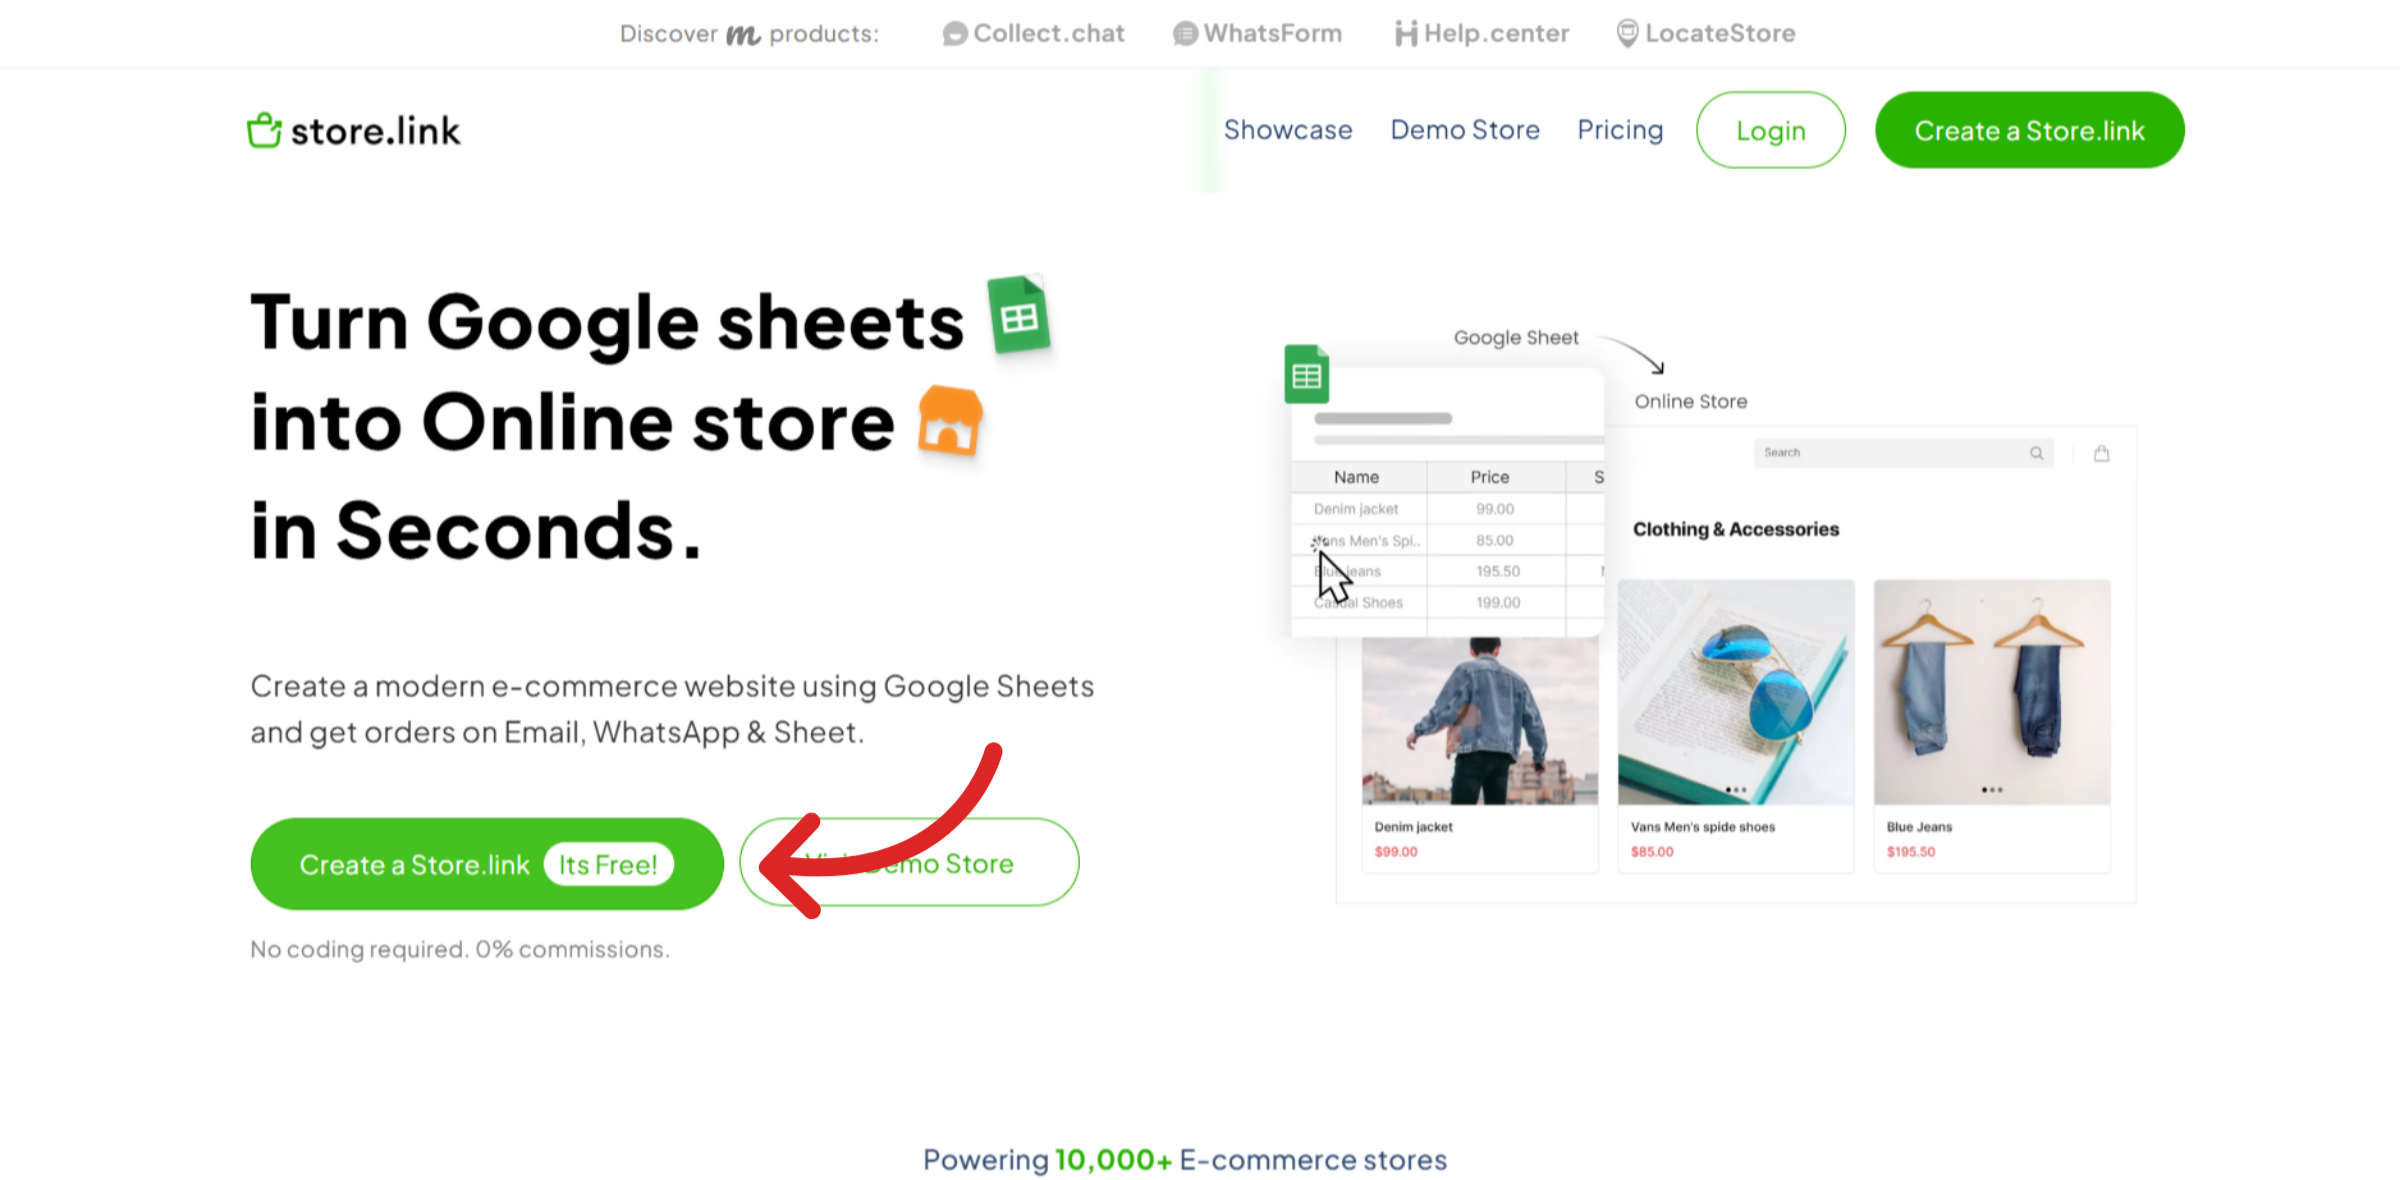
Go to the Store.link website and click on Create a Store.link to sign up for a free account.
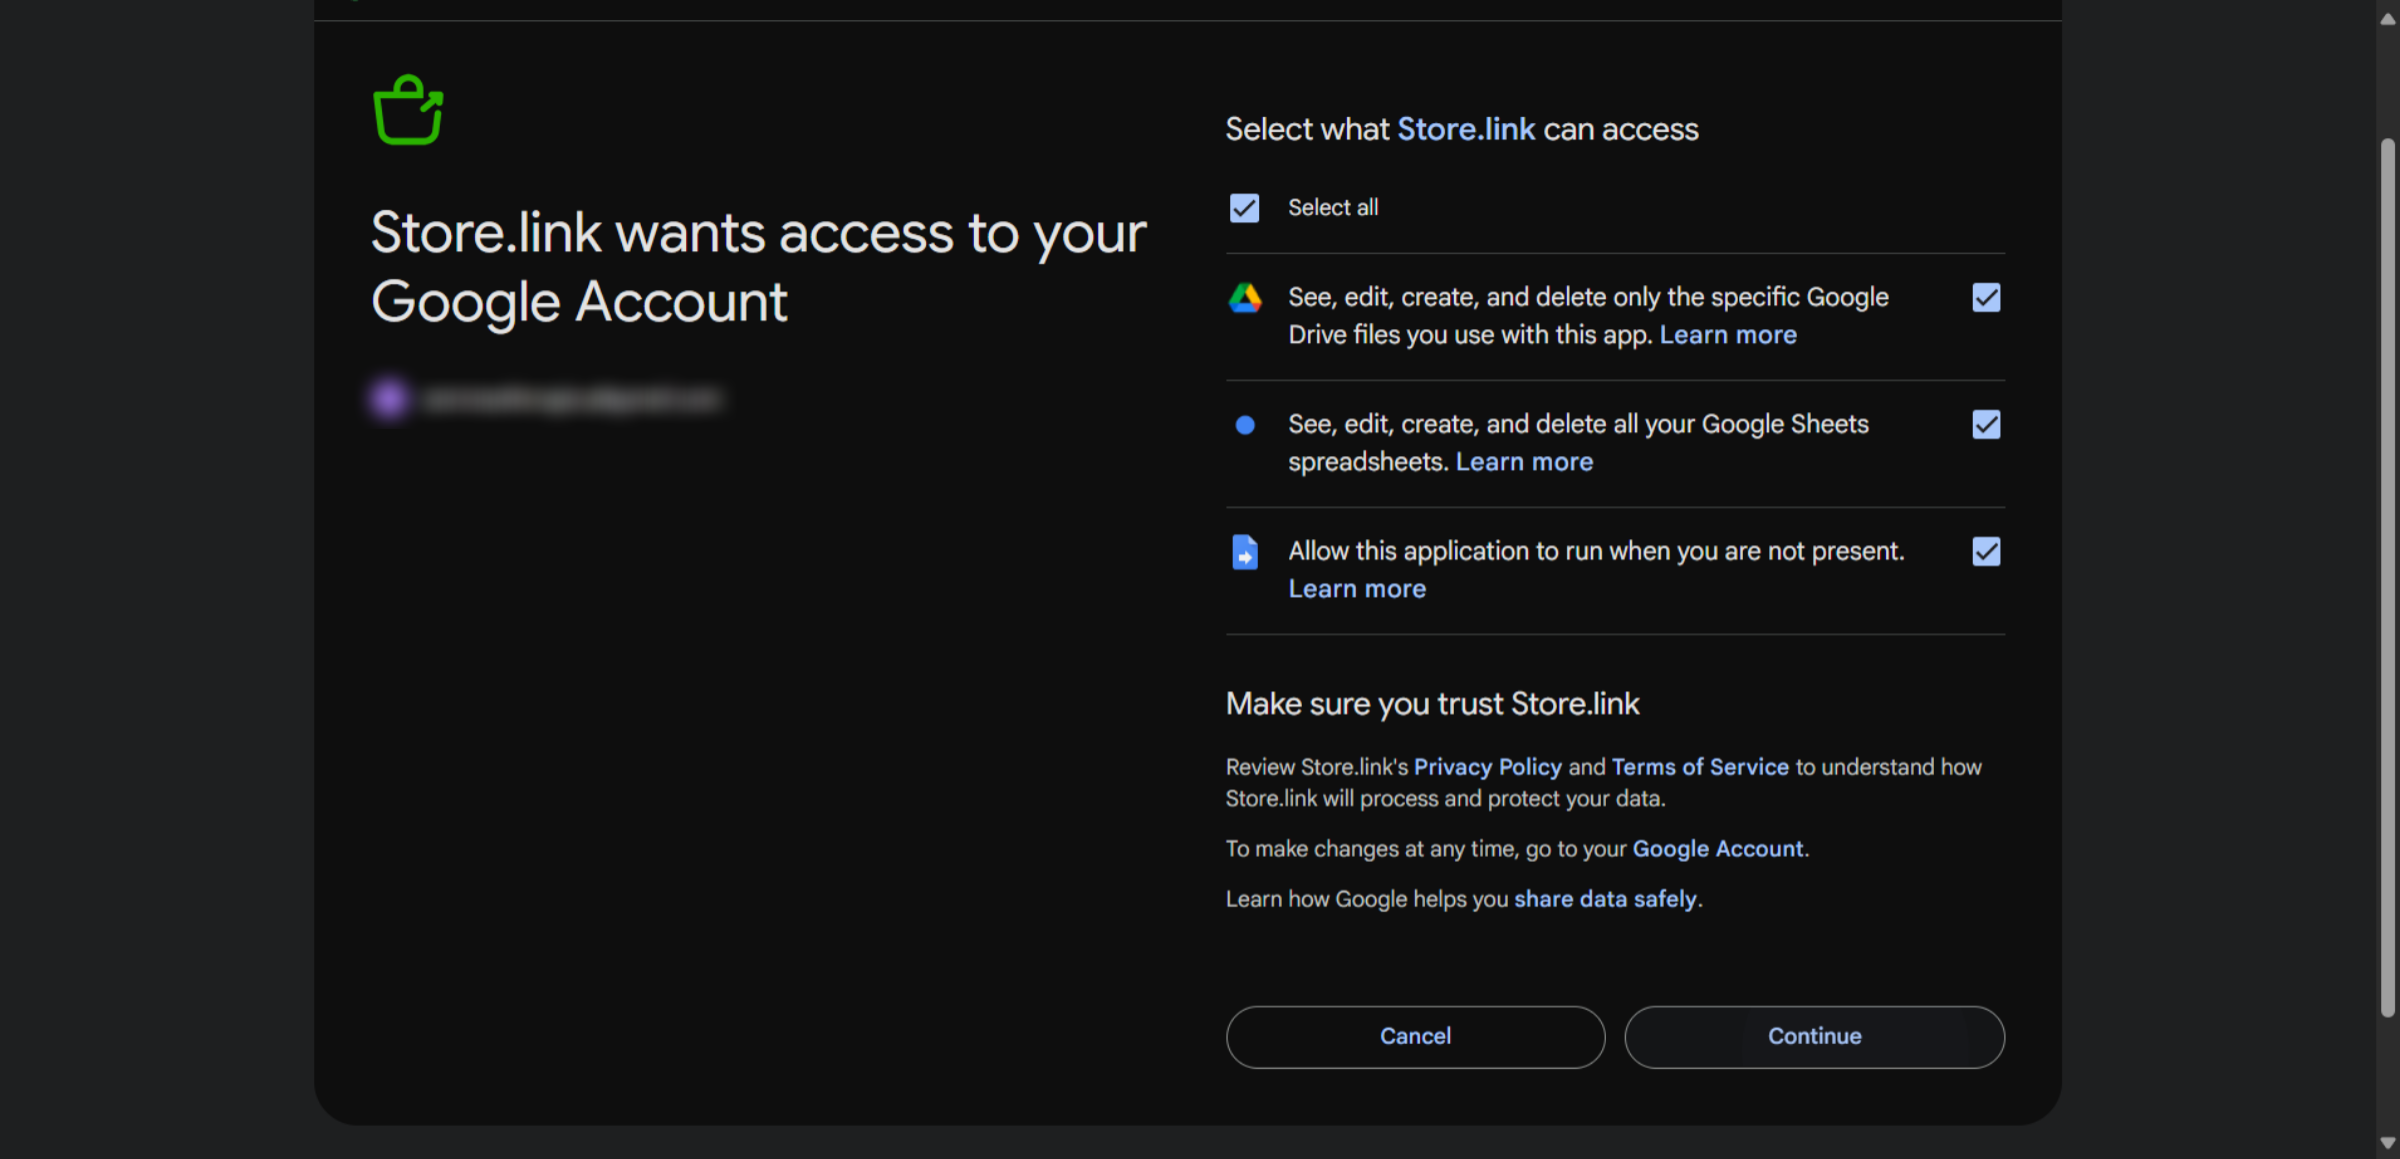
Grant Store.link access to your Google Drive since it pulls product details directly from Google Sheets.
Create a Store
Now that you are logged in, let's create a new store. Enter a product type that is most suitable for you and click on Let's Start.

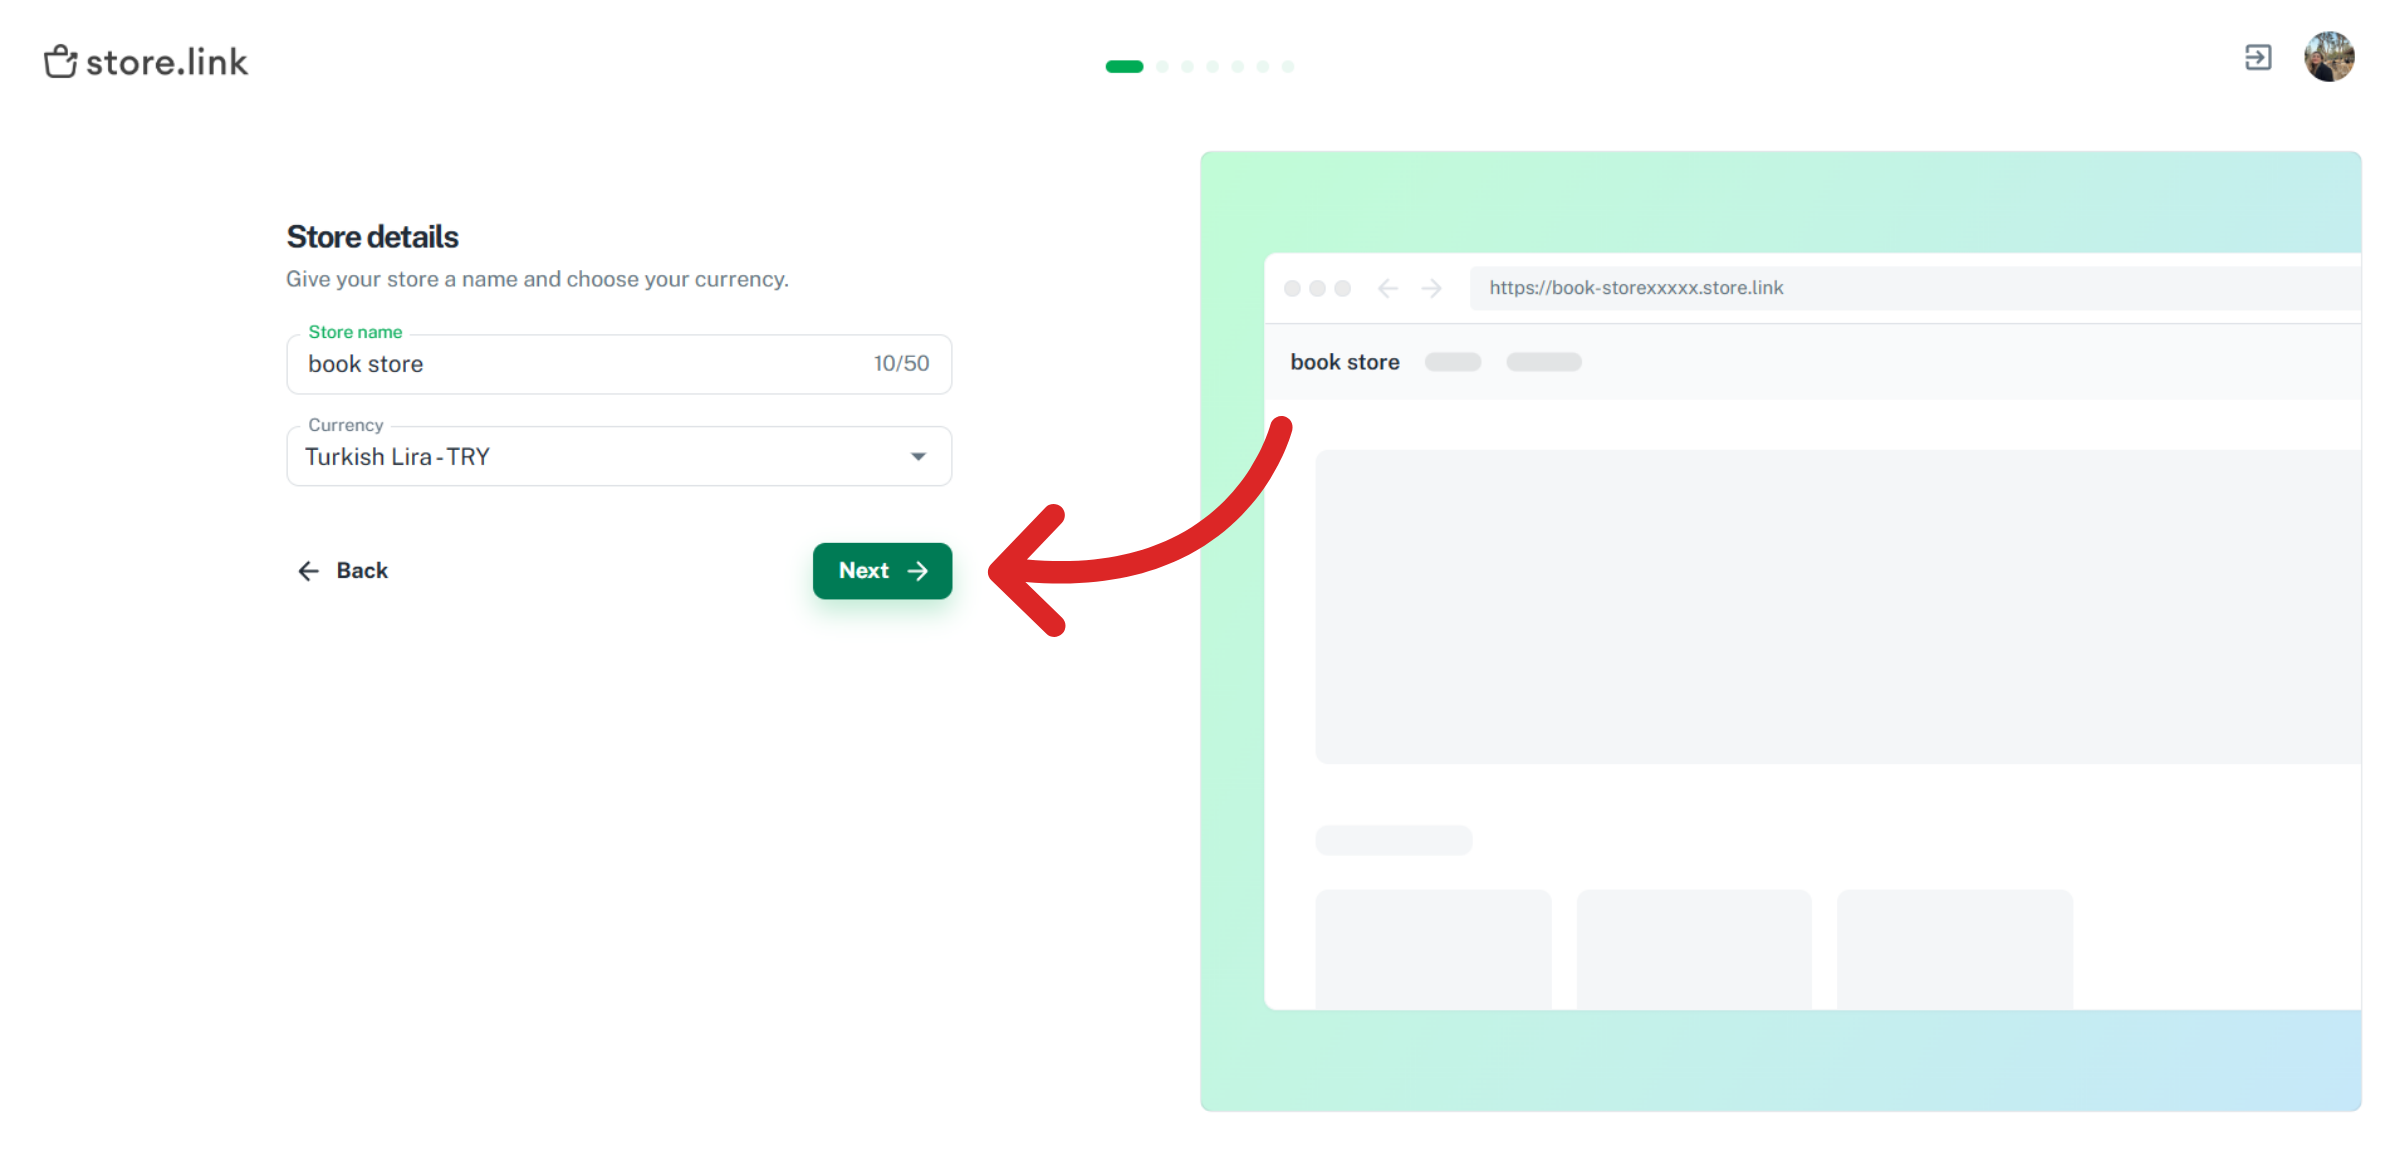
Give your store a name and select your preferred currency. Once you're done making changes, click on Next.
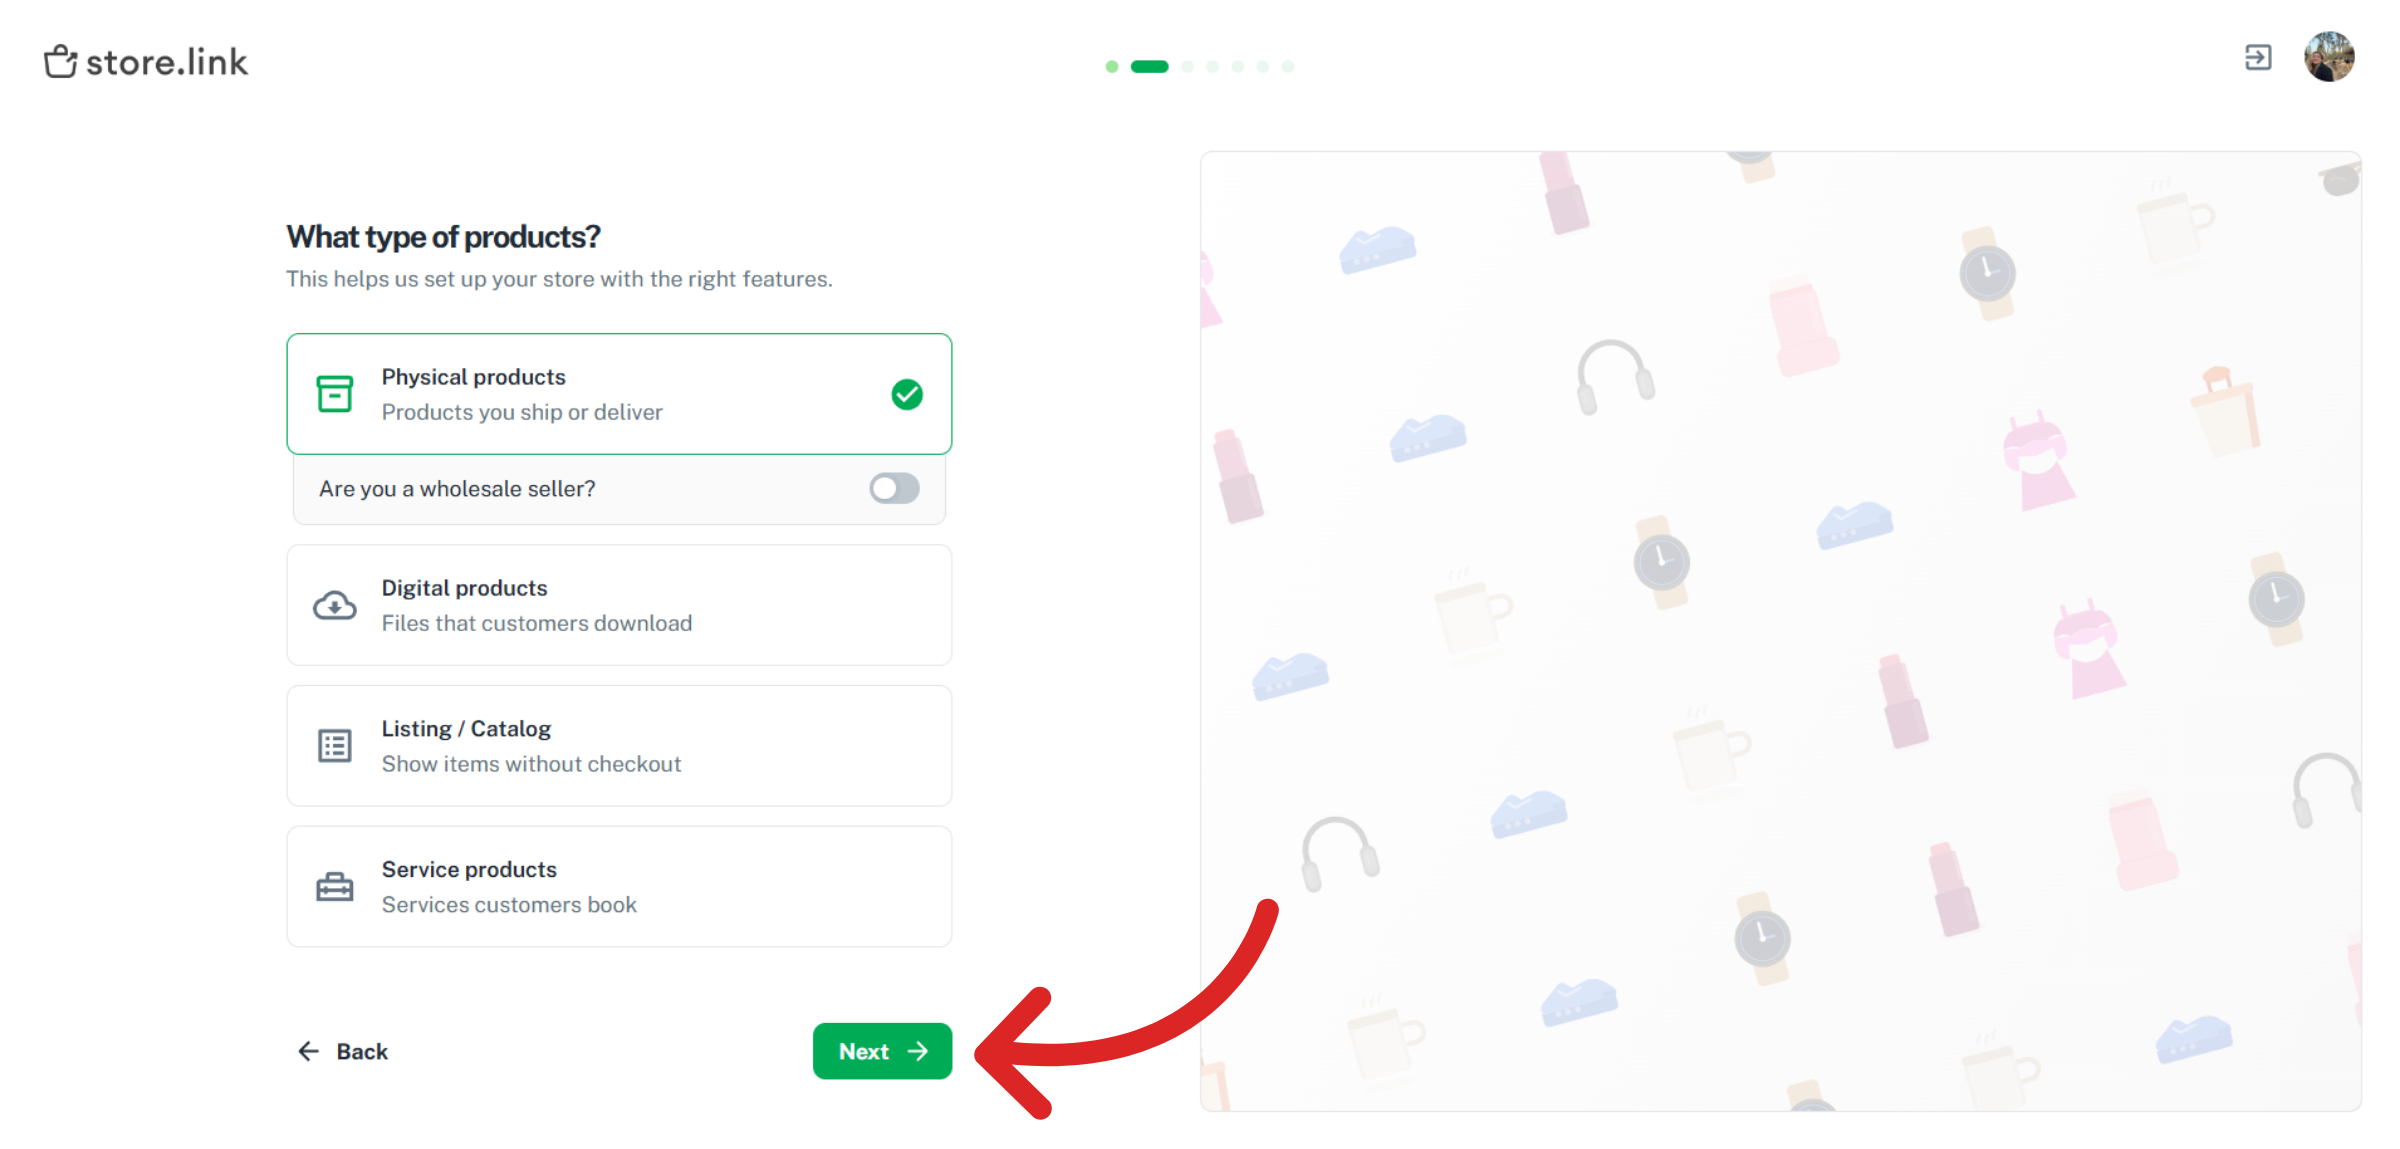
Choose the type of products you'll be selling. You can choose between Physical products (clothing, accessories etc.), Wholesale (if you sell in bulk), Digital products (eBooks, digital art), Listing / Catalog (real estate listings, affiliate directories) and Service products (bookings or appointments).
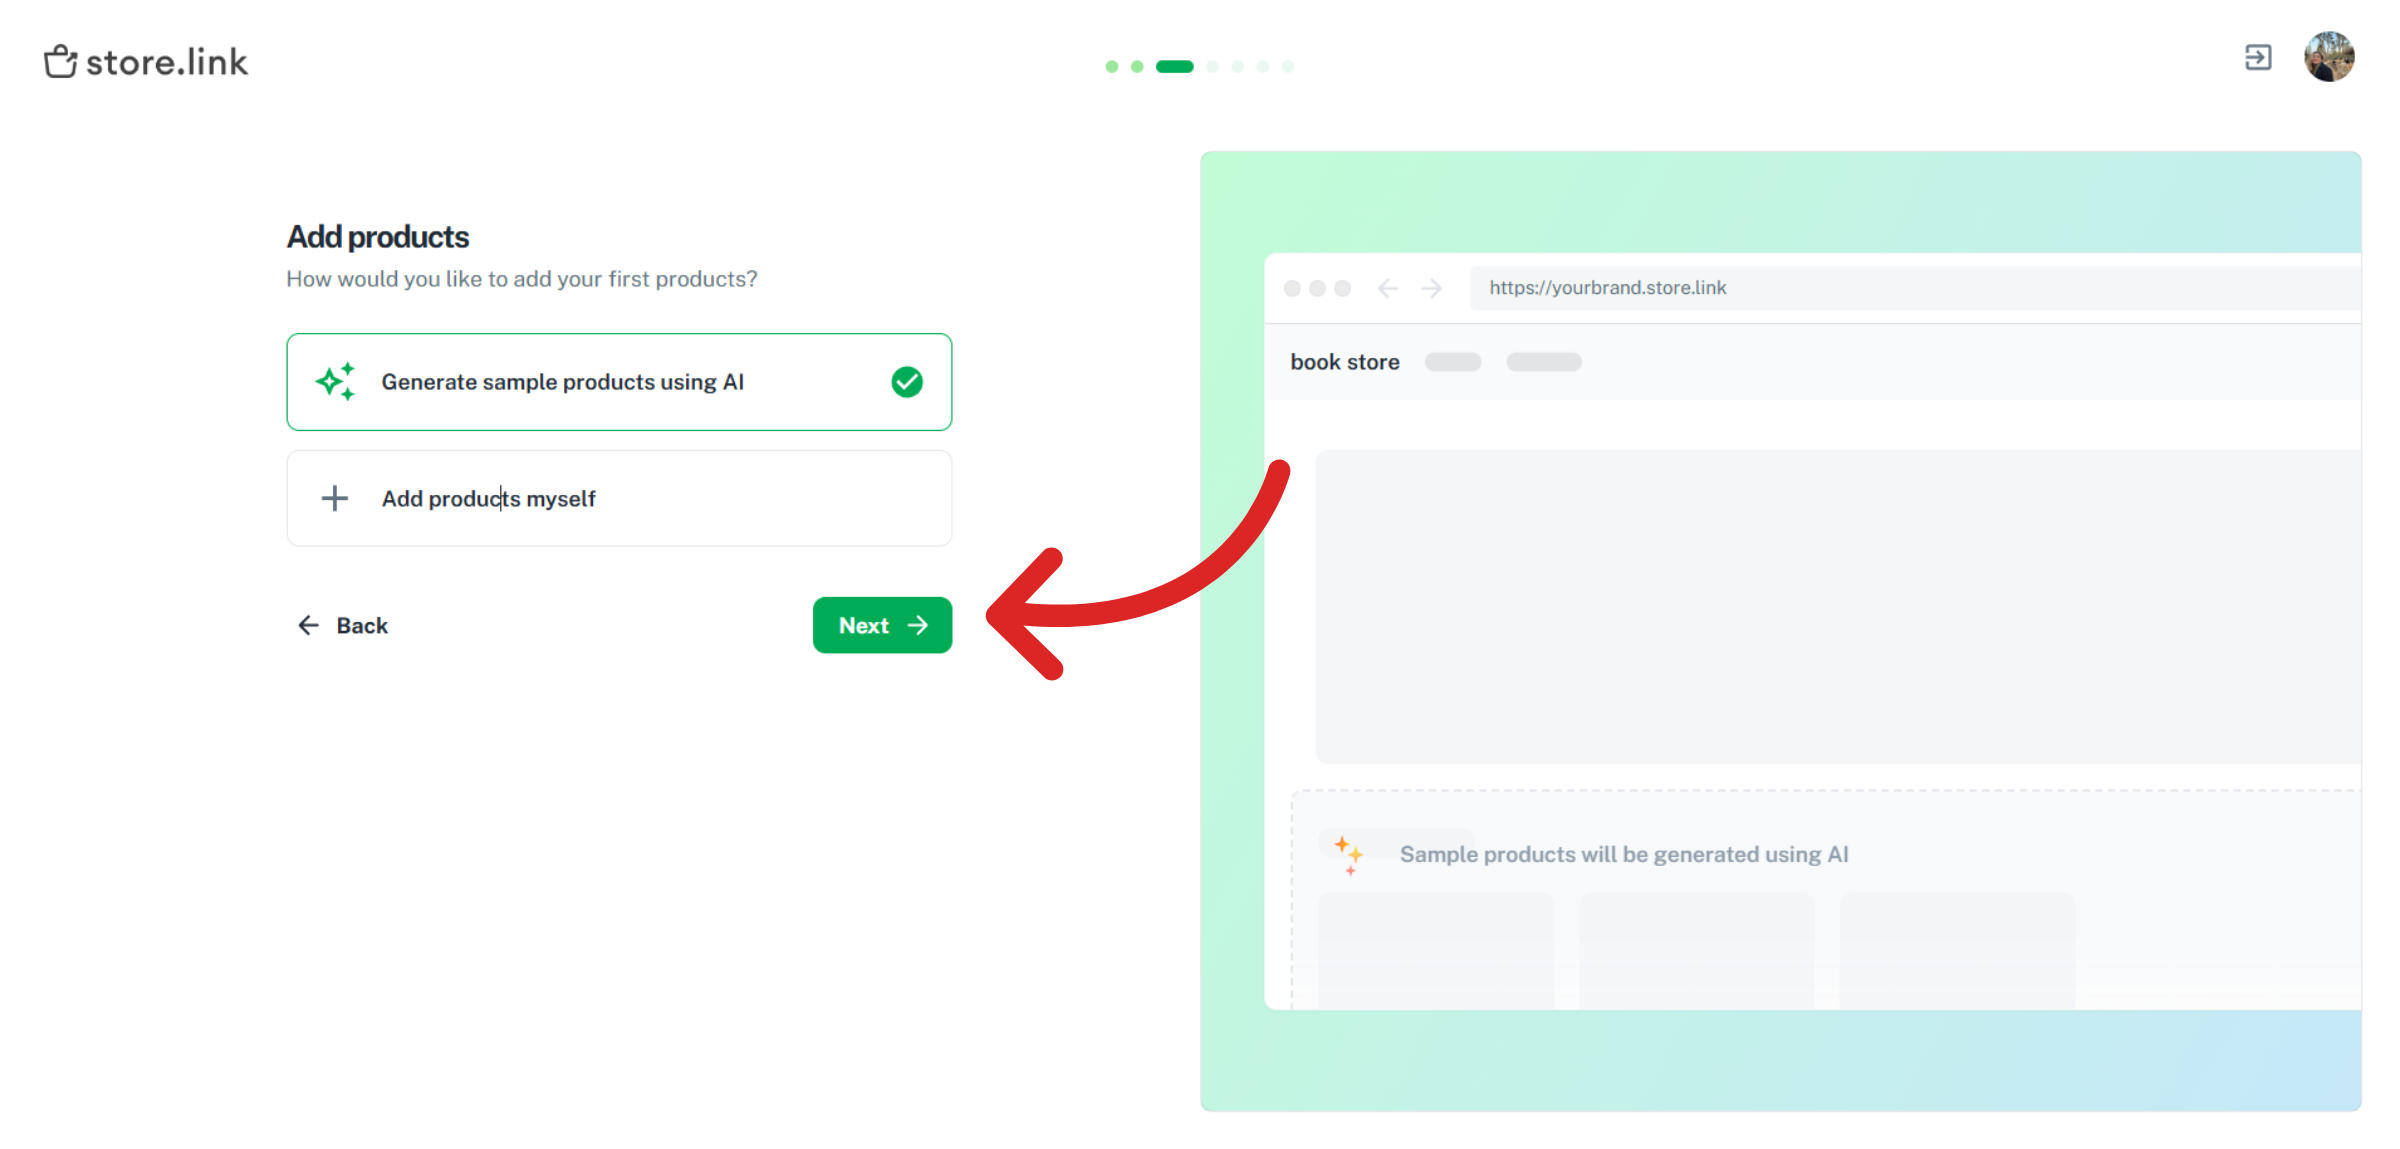
Choose how you would like to add products. You'll be presented with two options; add products yourself or let AI do the heavy lifting. If you are not ready to add real products yet, Store.link's AI can instantly generate a set of sample products so your store looks complete from day one.
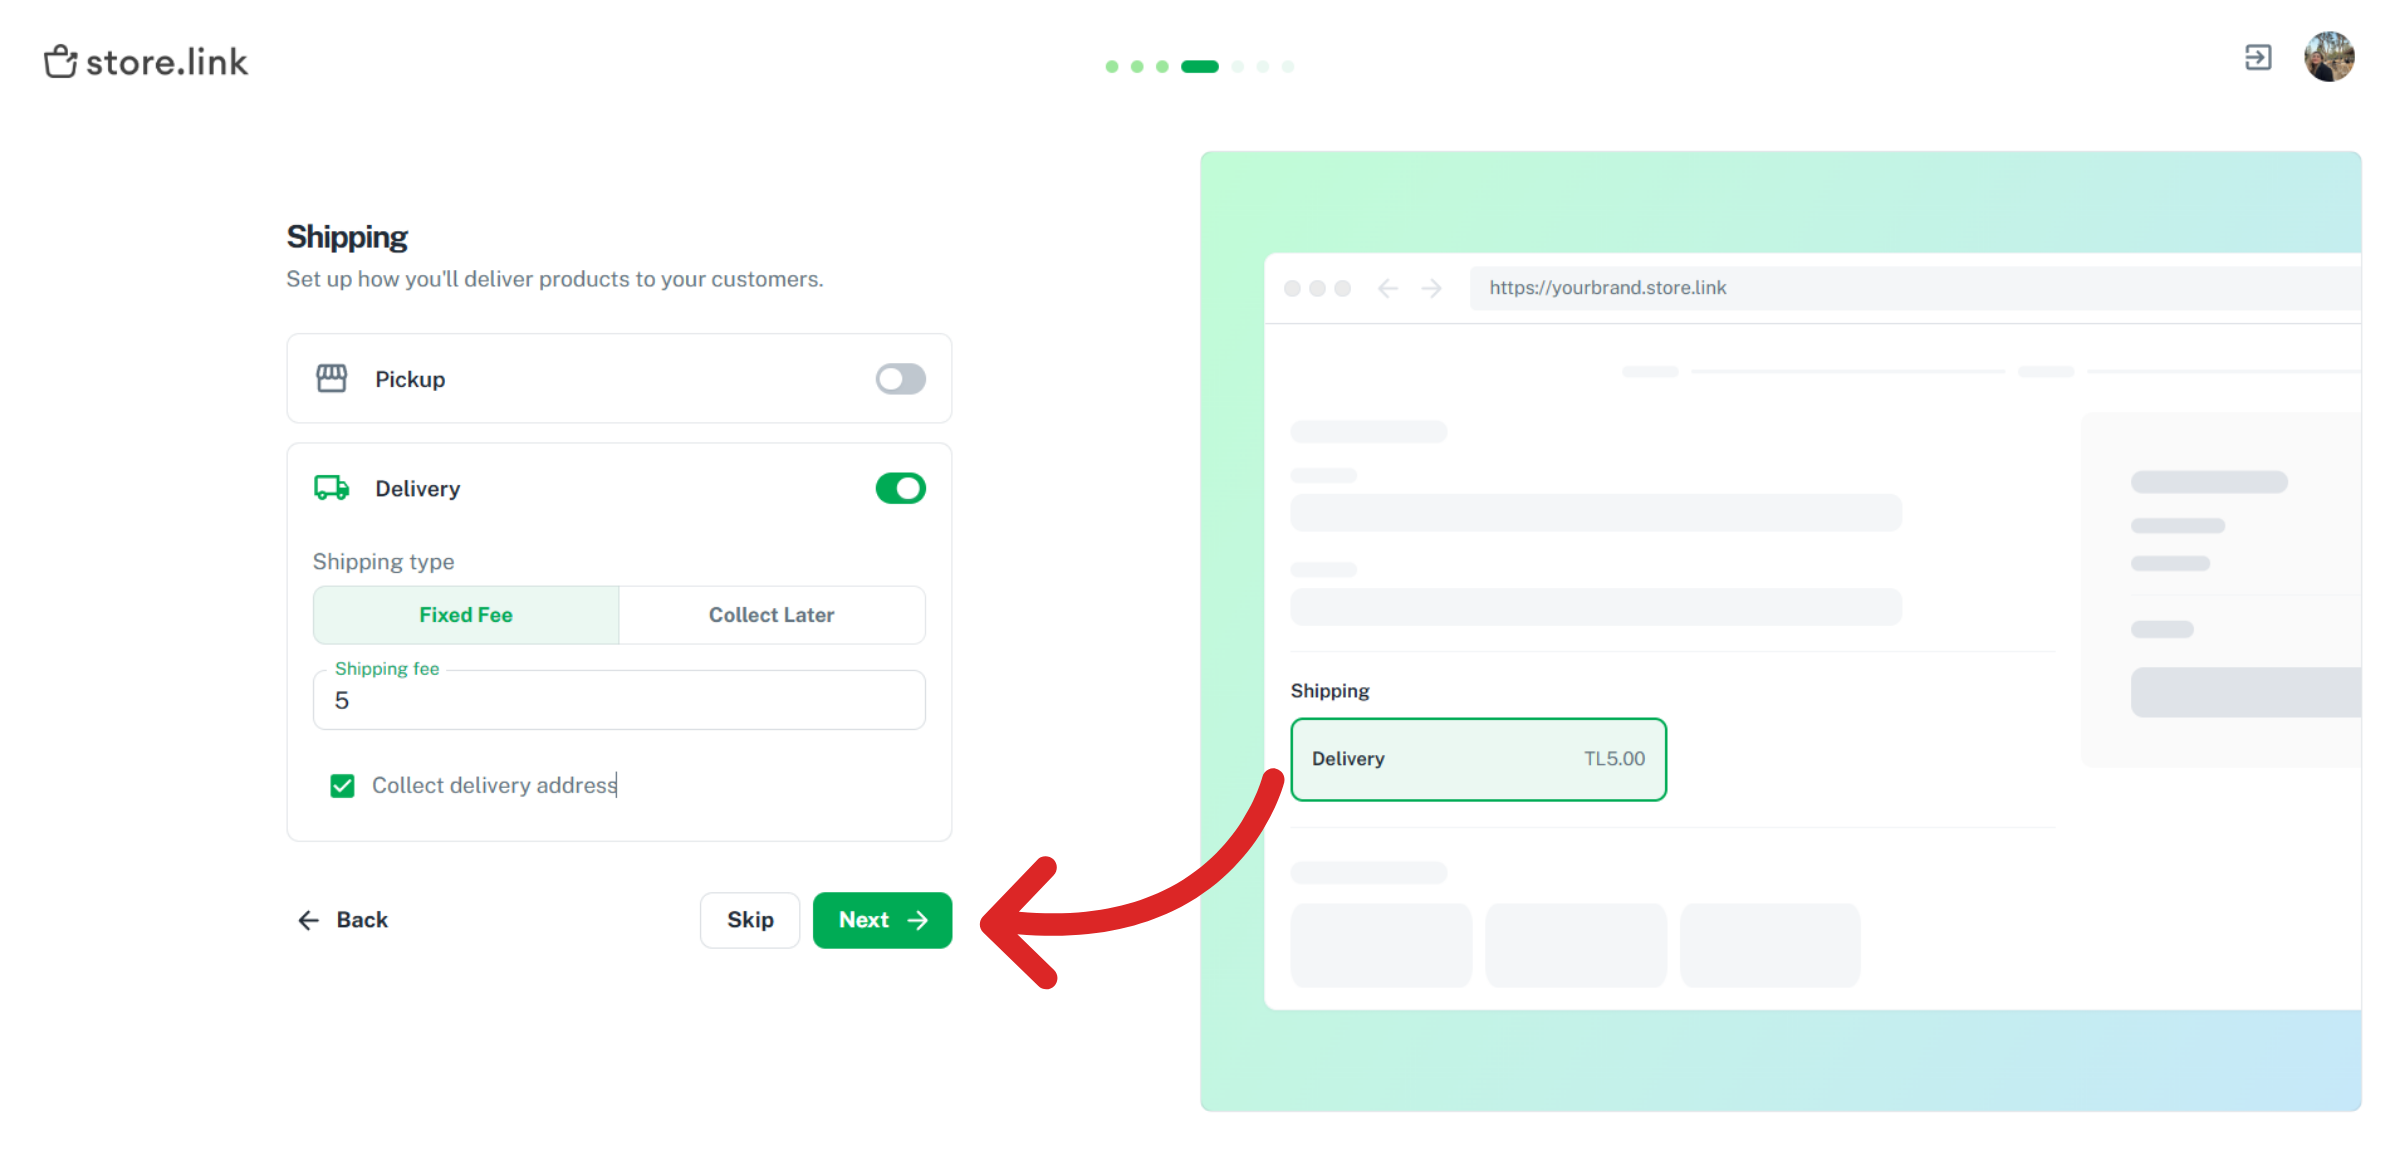
Select how customers will receive their orders. You can choose between two fulfilment options: Pickup and Delivery. If you choose Pickup, customers will collect their order directly from your location. If you choose delivery, orders will be shipped to your customers' addresses.
Decide how you want to receive customer orders: WhatsApp, email, or directly into Google Sheets.
Add Products
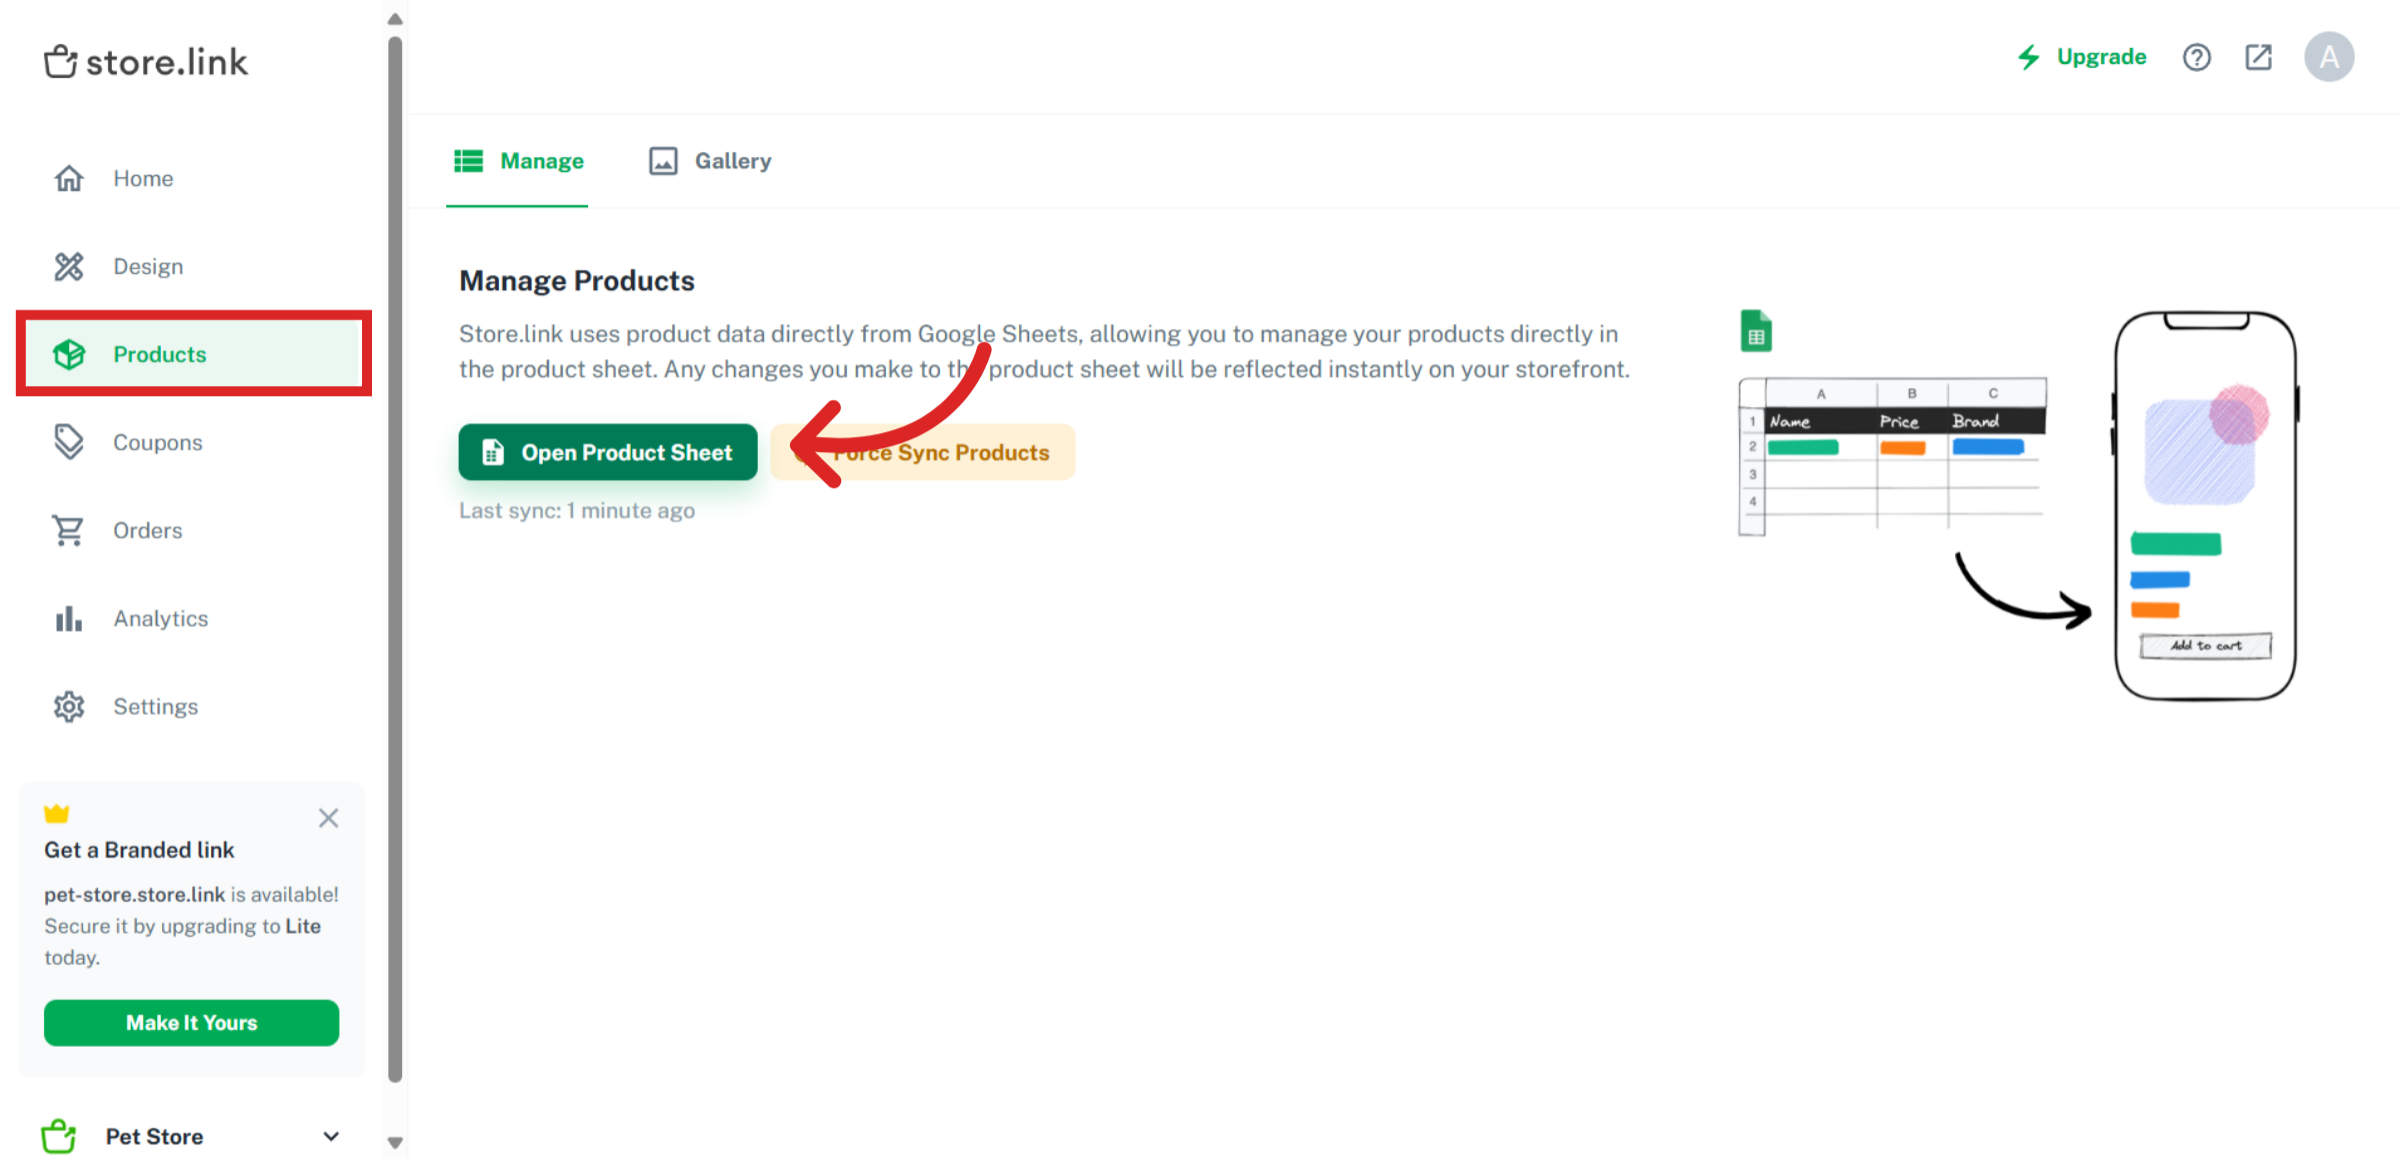
Go to the Products tab in your Store.link dashboard and click on Open Product Sheet.
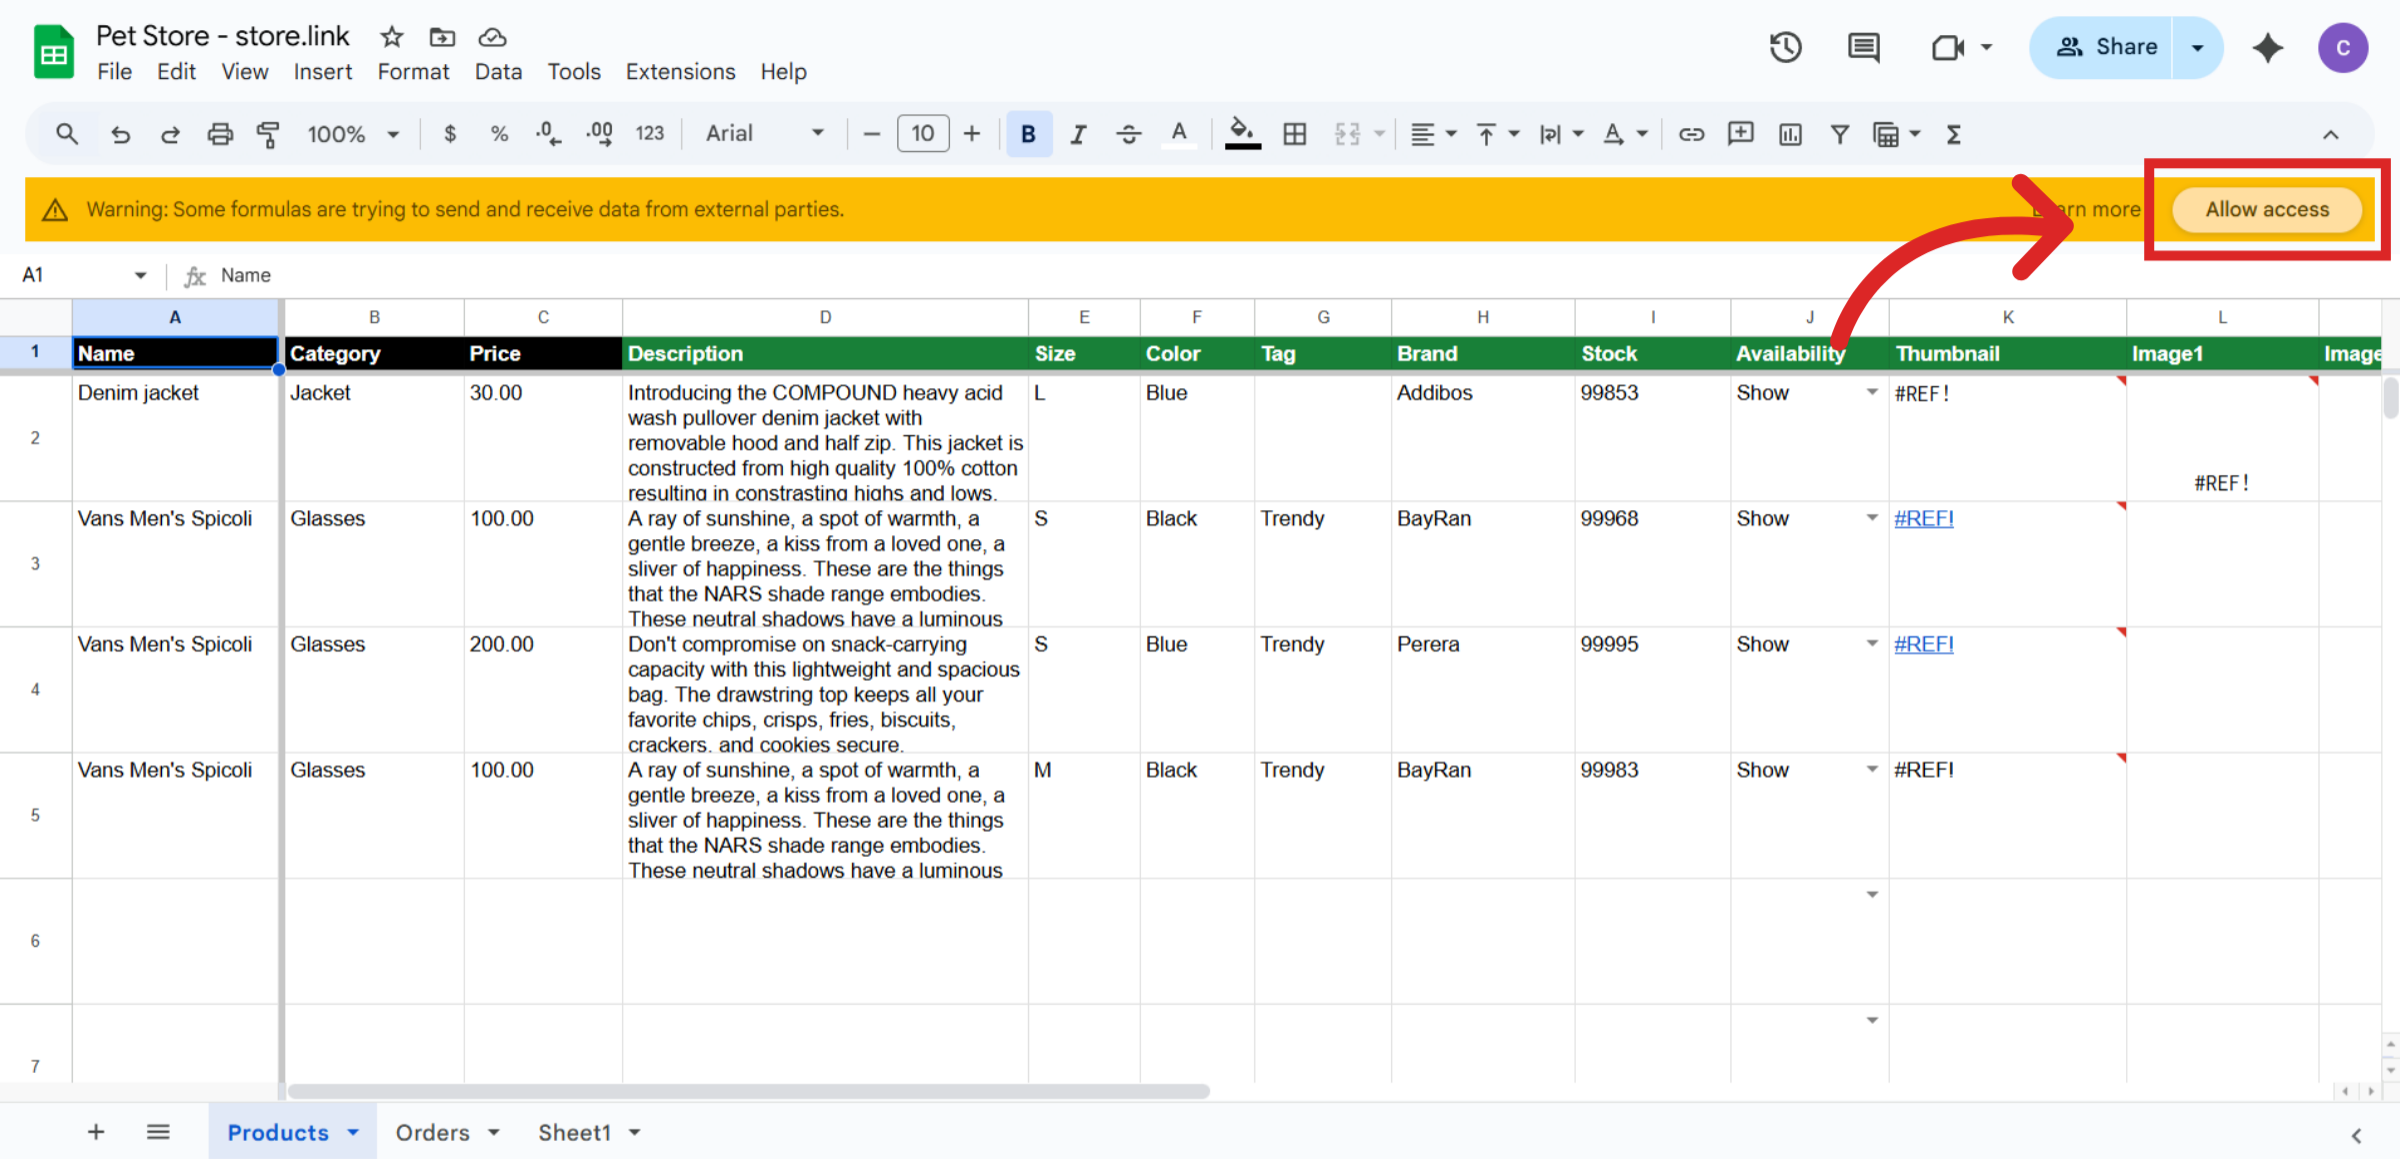
This is your Product Sheet, which contains the details of all your products. The yellow alert box is just a security check from Google, asking your permission to run formulas. Click on Allow access.
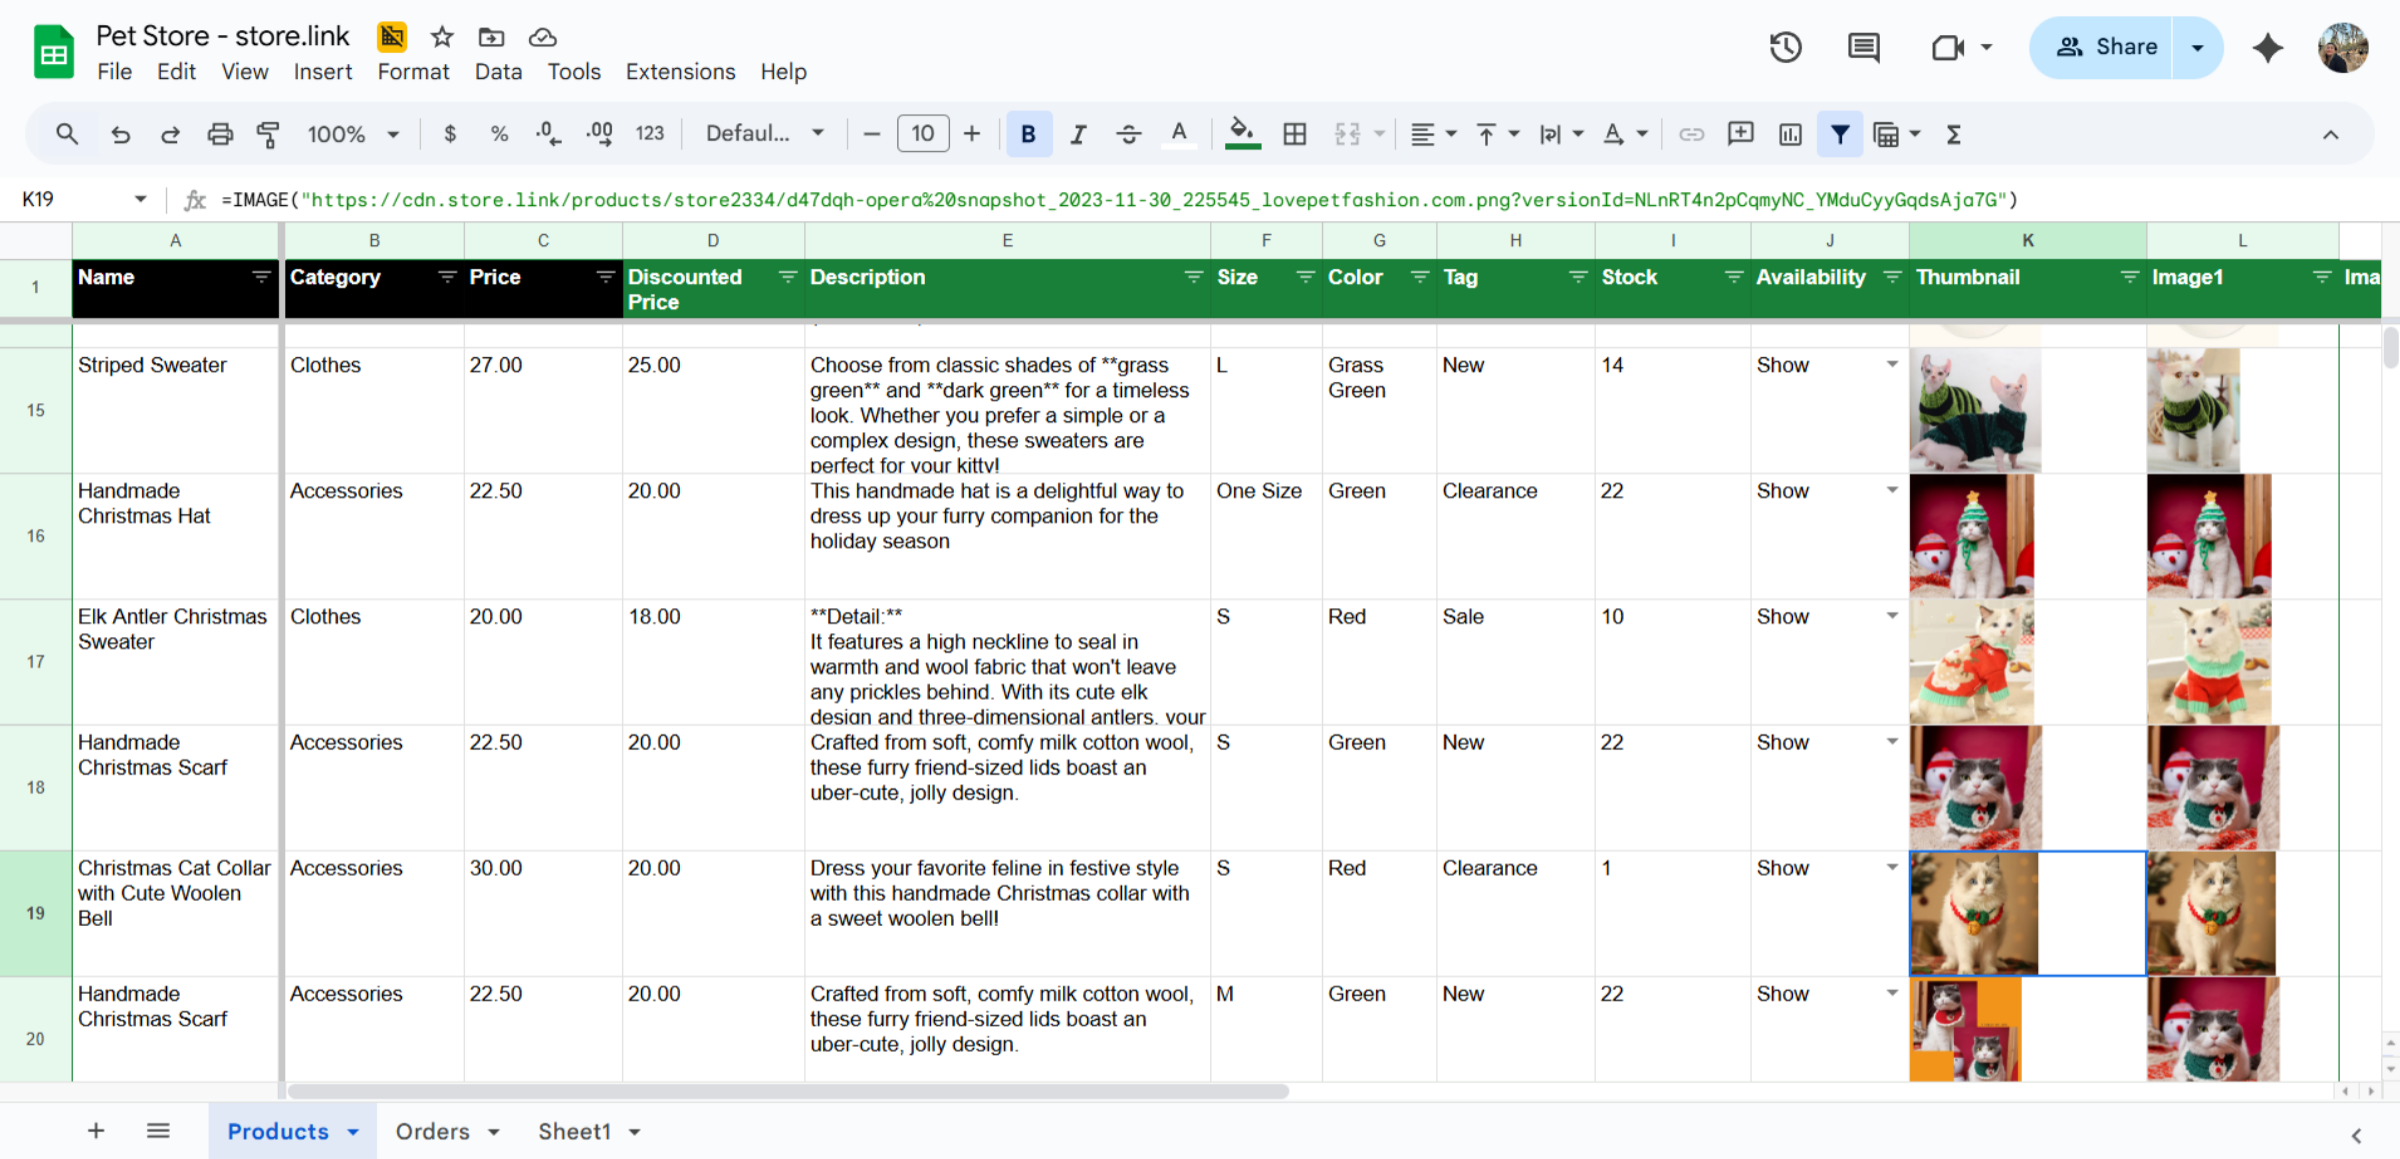
Each row in your Google Sheet becomes a product on your store. Add your own products by entering details in rows. Add the name of your product, select a category and set a price.
Write a brief product description, highlighting the product's strengths. You can also add size and color information, choose a tag for your product, update stock availability and add product images.
Add Product Images
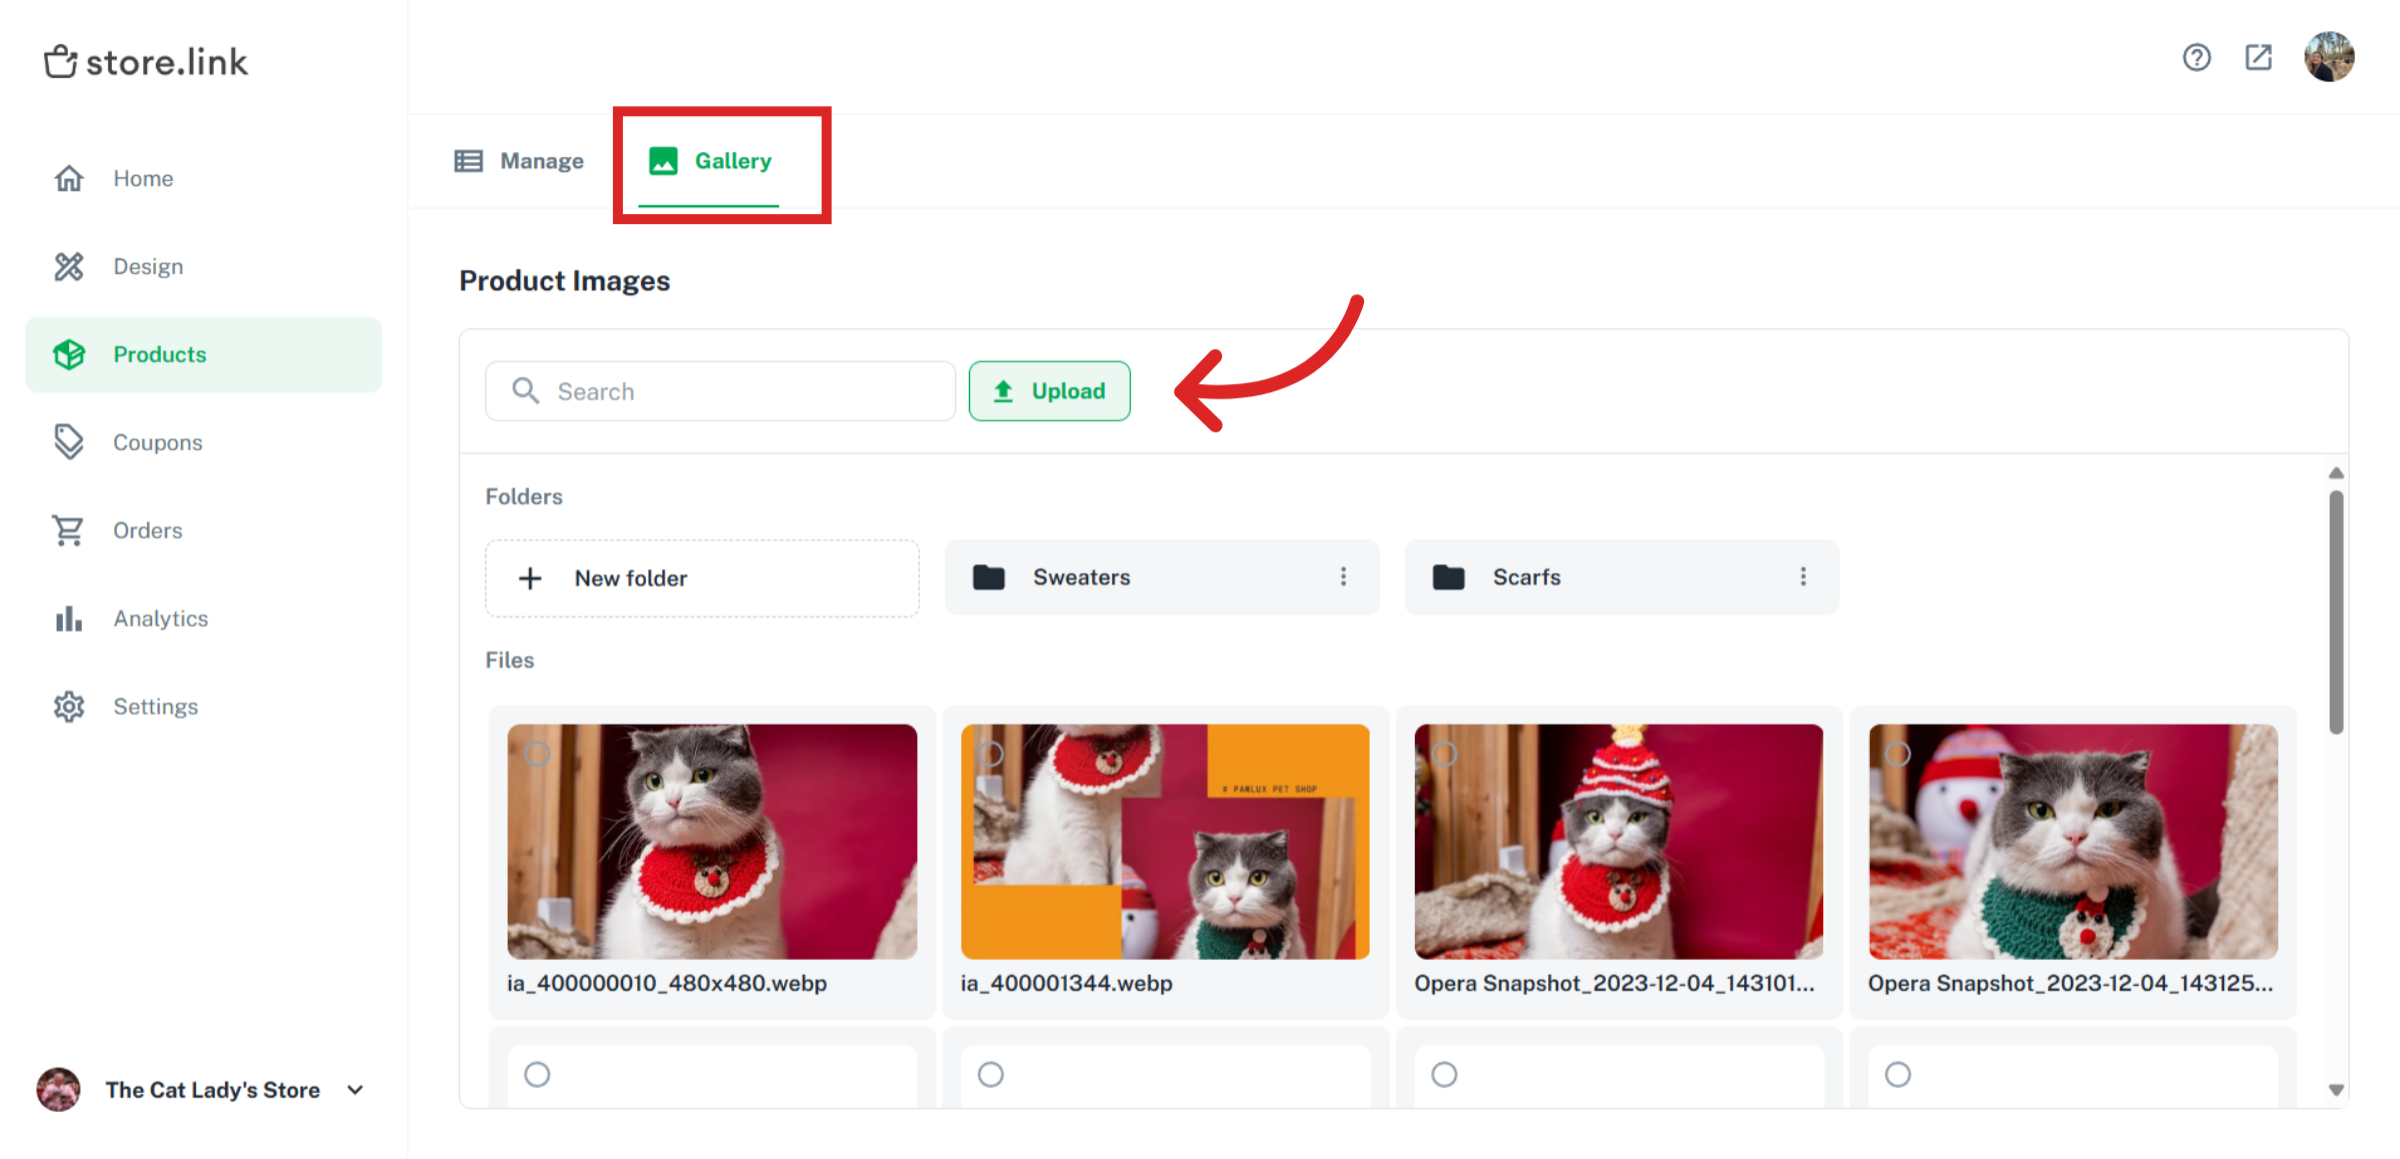
To add an image for your product, you can simply copy and paste the URL of your image. Alternatively, you can add images from the Gallery tab on the Store.link dashboard. Here, you will be able to upload images from your device.
After uploading images, you can click on Copy Image and paste the image inside the desired cell.
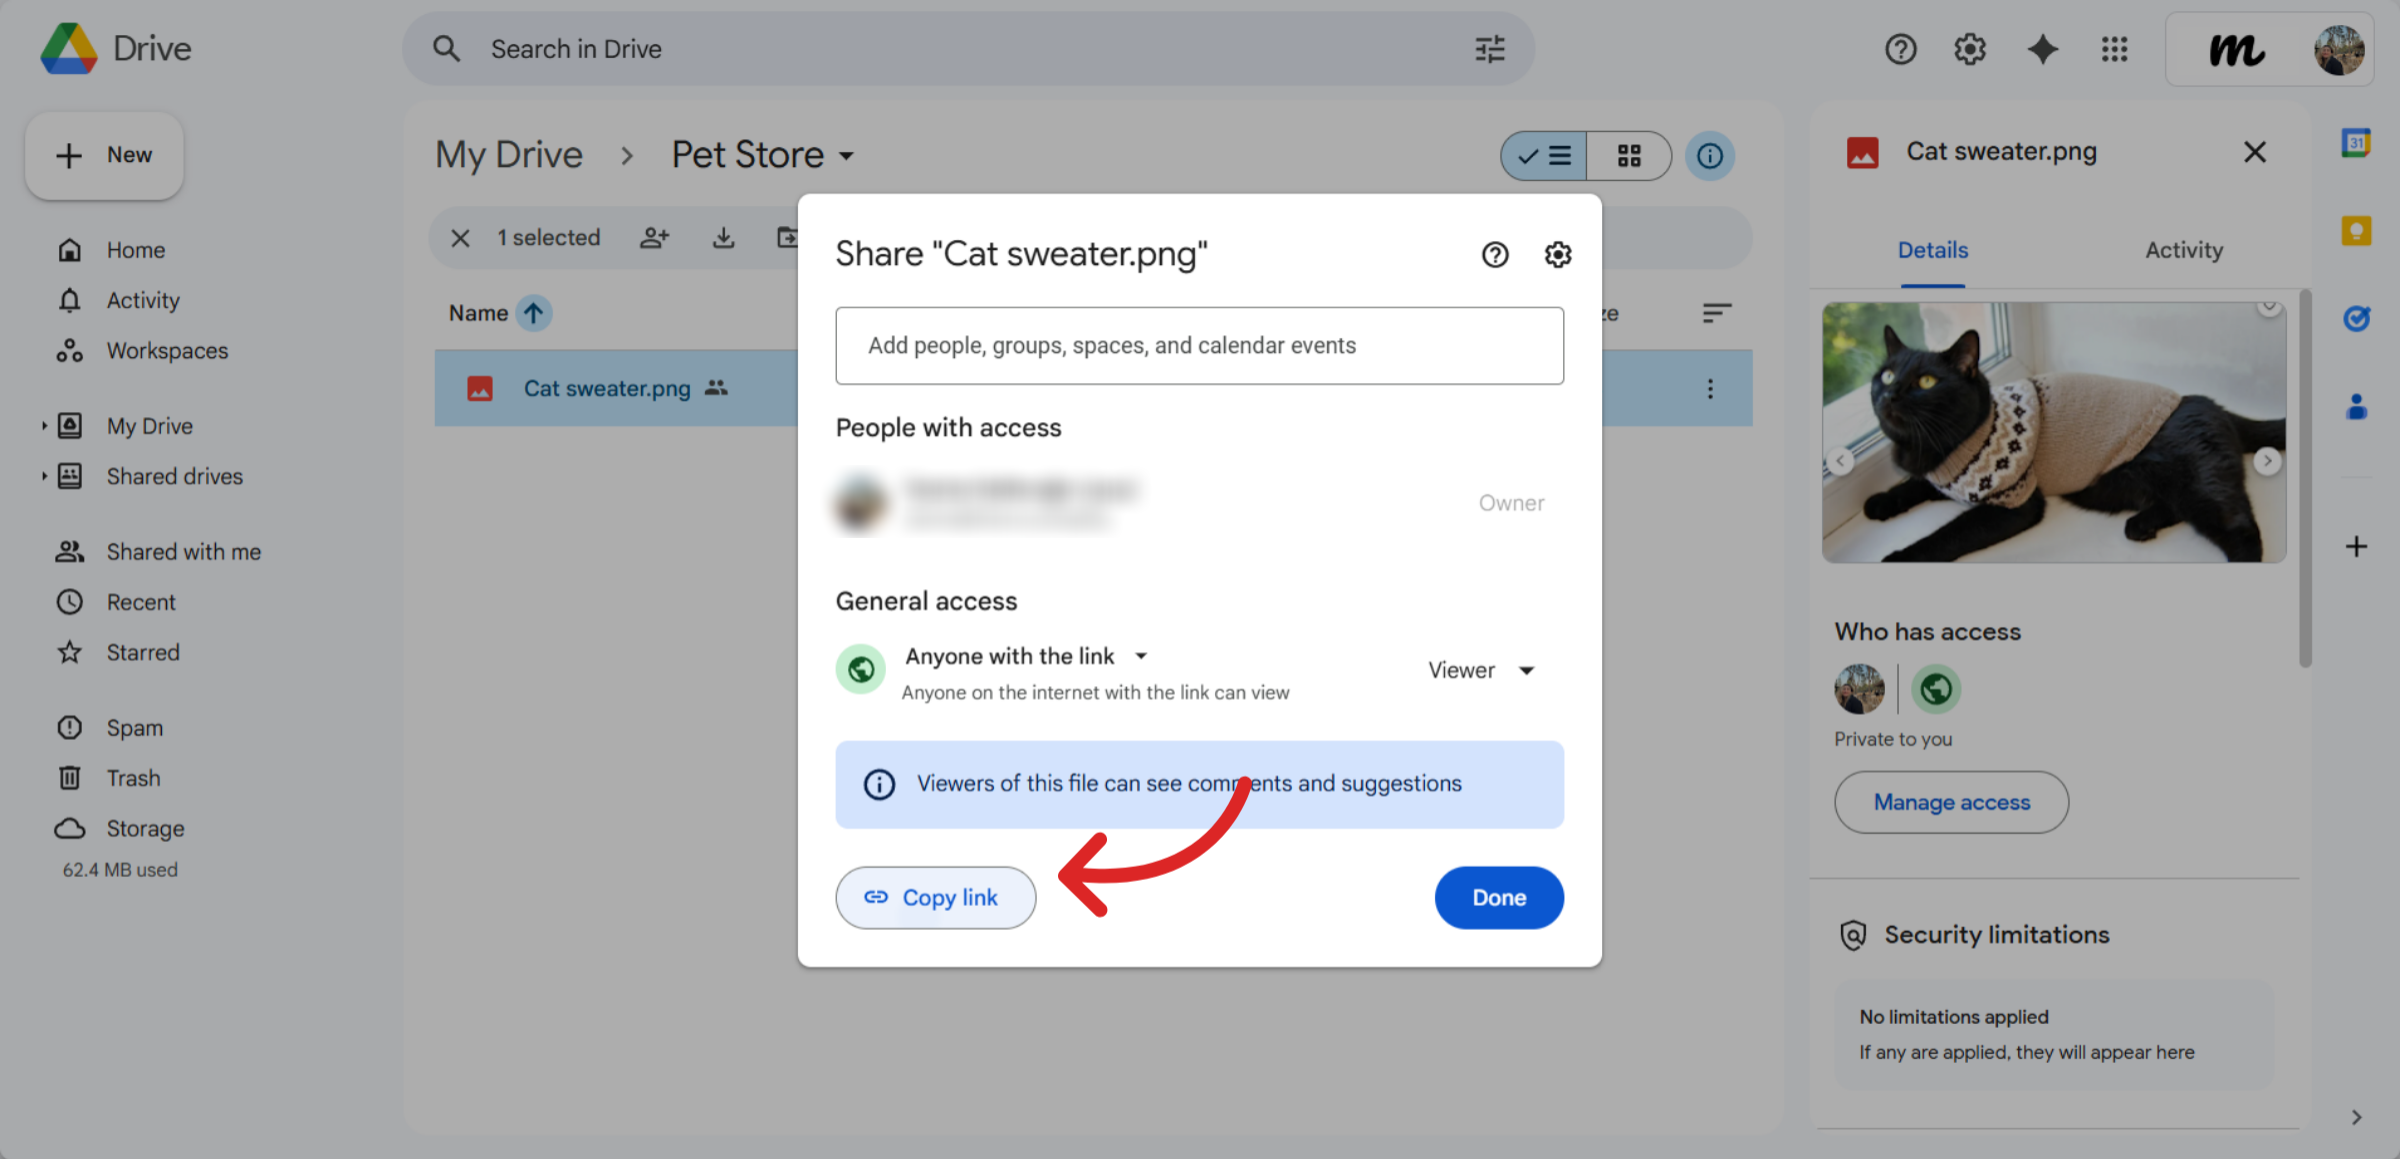
Public images uploaded to Google Drive are also supported. Simply copy the link from Google Drive and paste it into the appropriate cell.
Design the Homepage
Store.link lets you design your homepage with ease. Go to Design > Homepage to start.
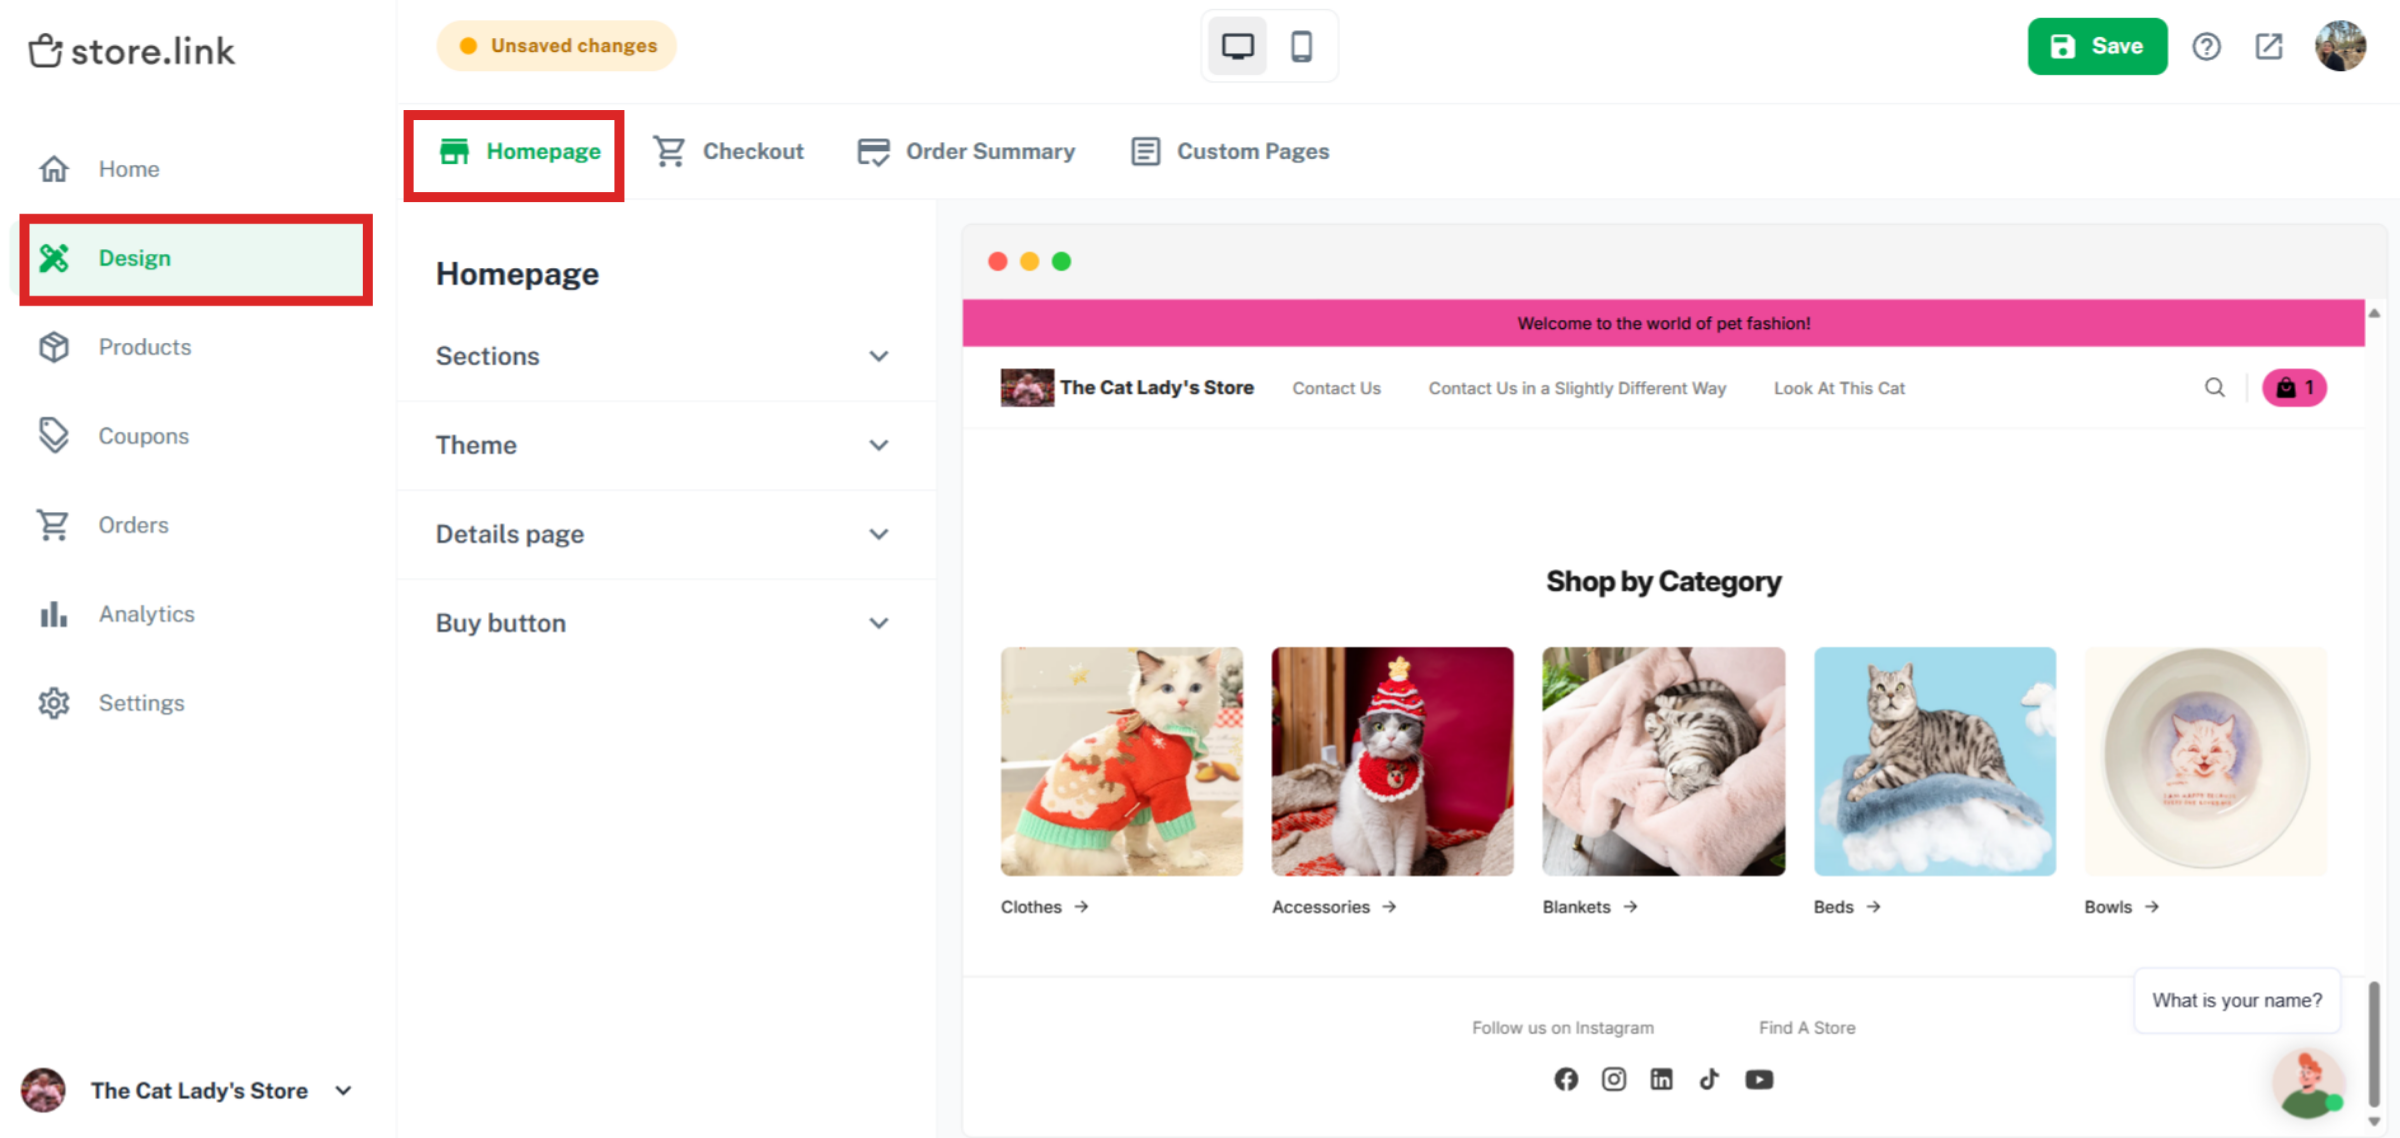
Under Header, you can add your logo, add a header message and provide additional links to important sections of your store or external resources. This could include links to your social media profiles, a contact page, or even a blog or Google form.
You can enable or disable the banner option. If you choose to include a banner, you can add a title, subtitle, and upload an image to visually represent your message.
Use the Custom Section option to create custom sections using AI prompts or adding your HTML and CSS code.
Place an Order
Now, it's time to place an order. Open your online store website as a customer, pick an item and click on it.
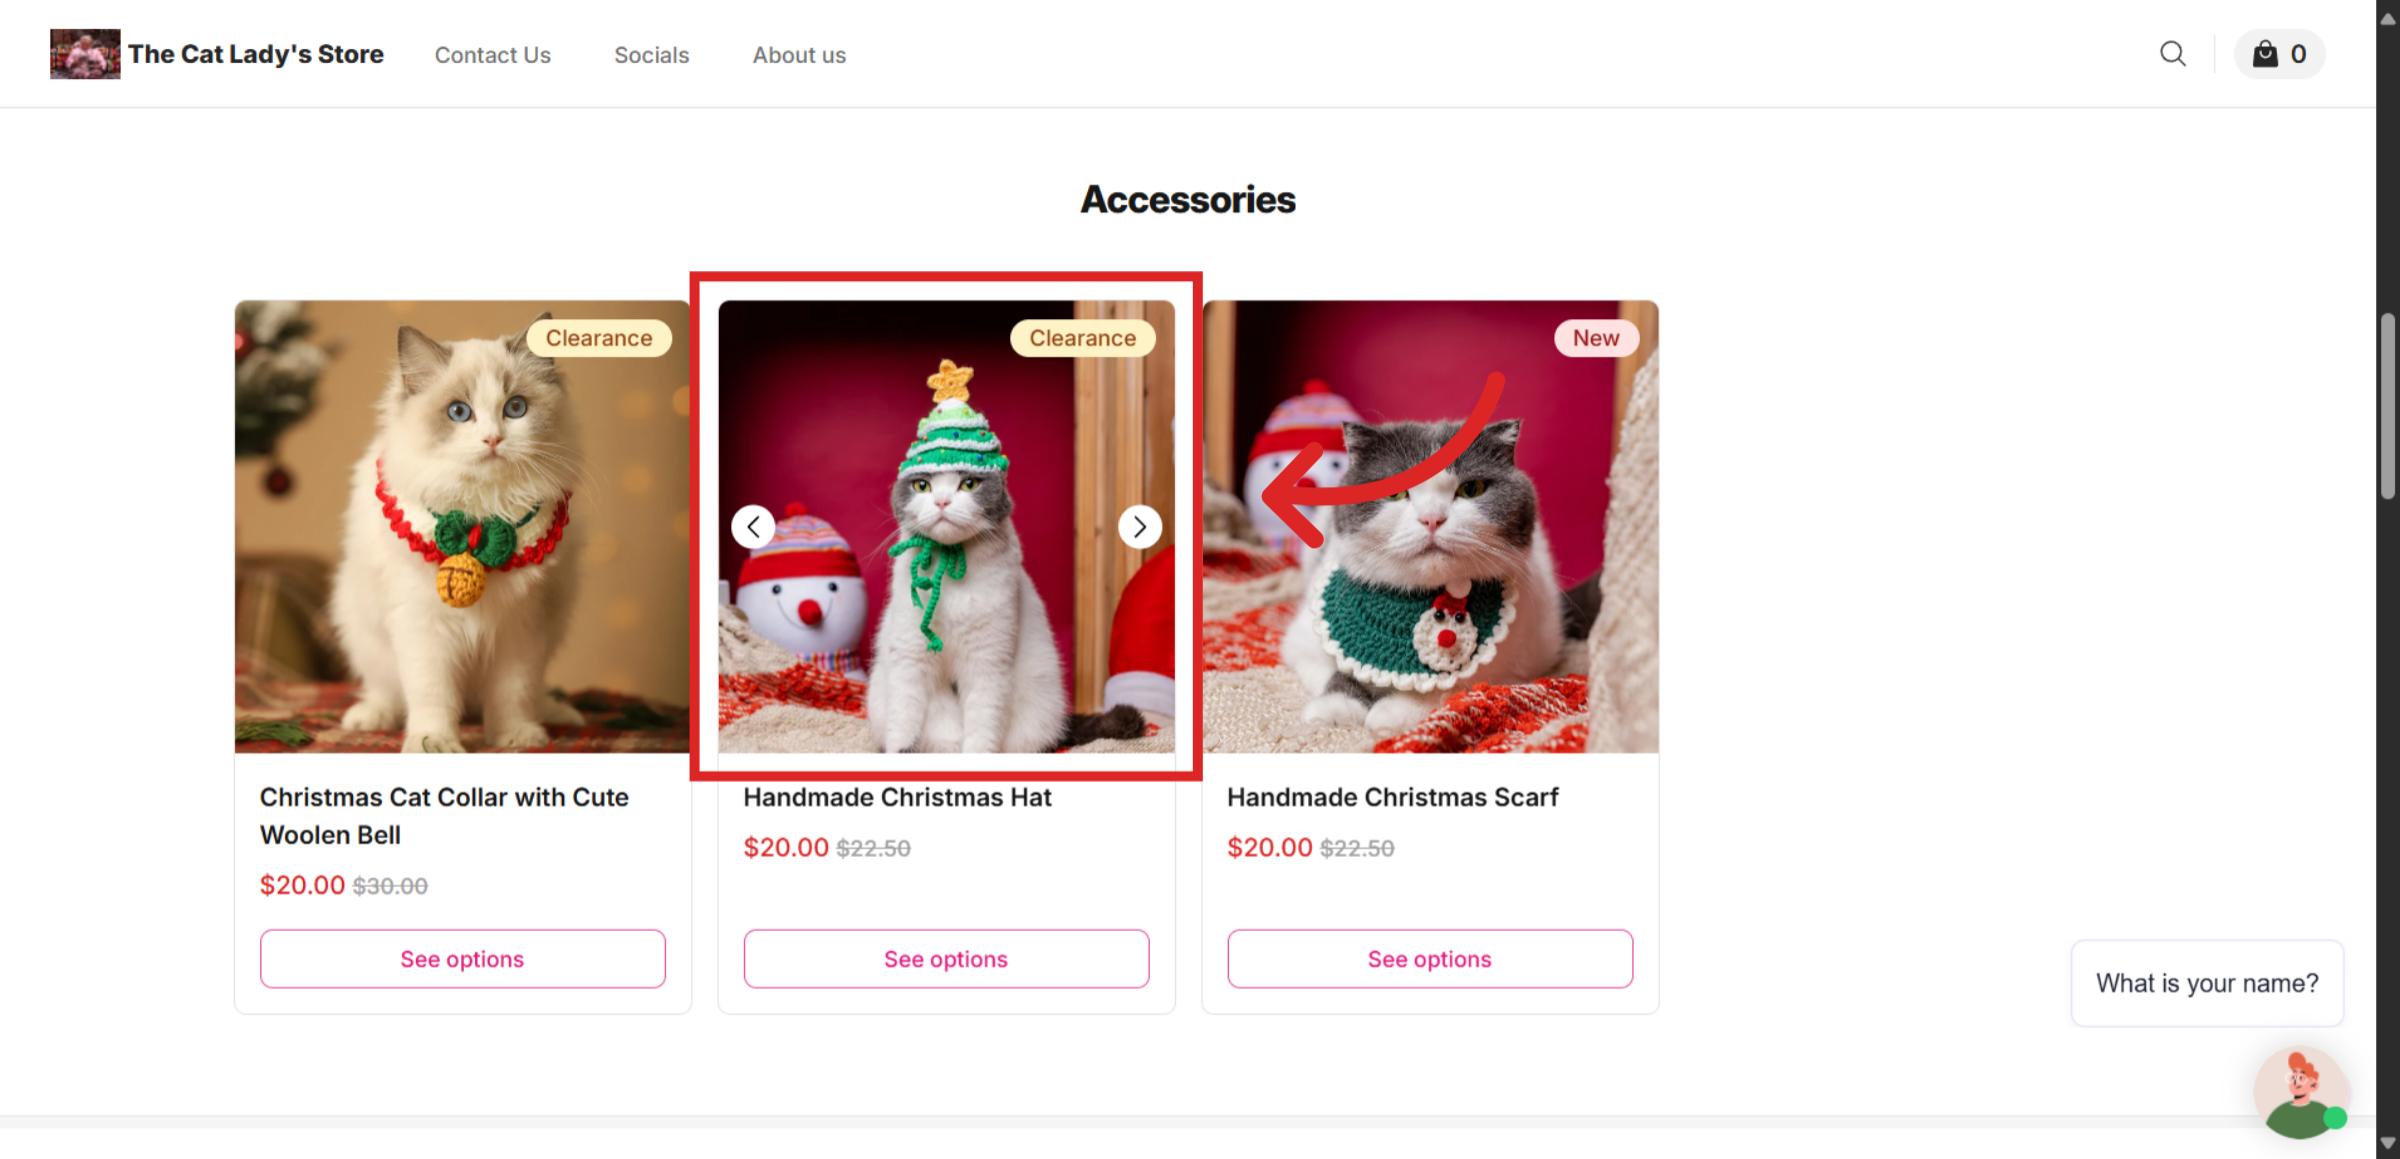
Select a variant, choose the quantity and click on Add to Cart.

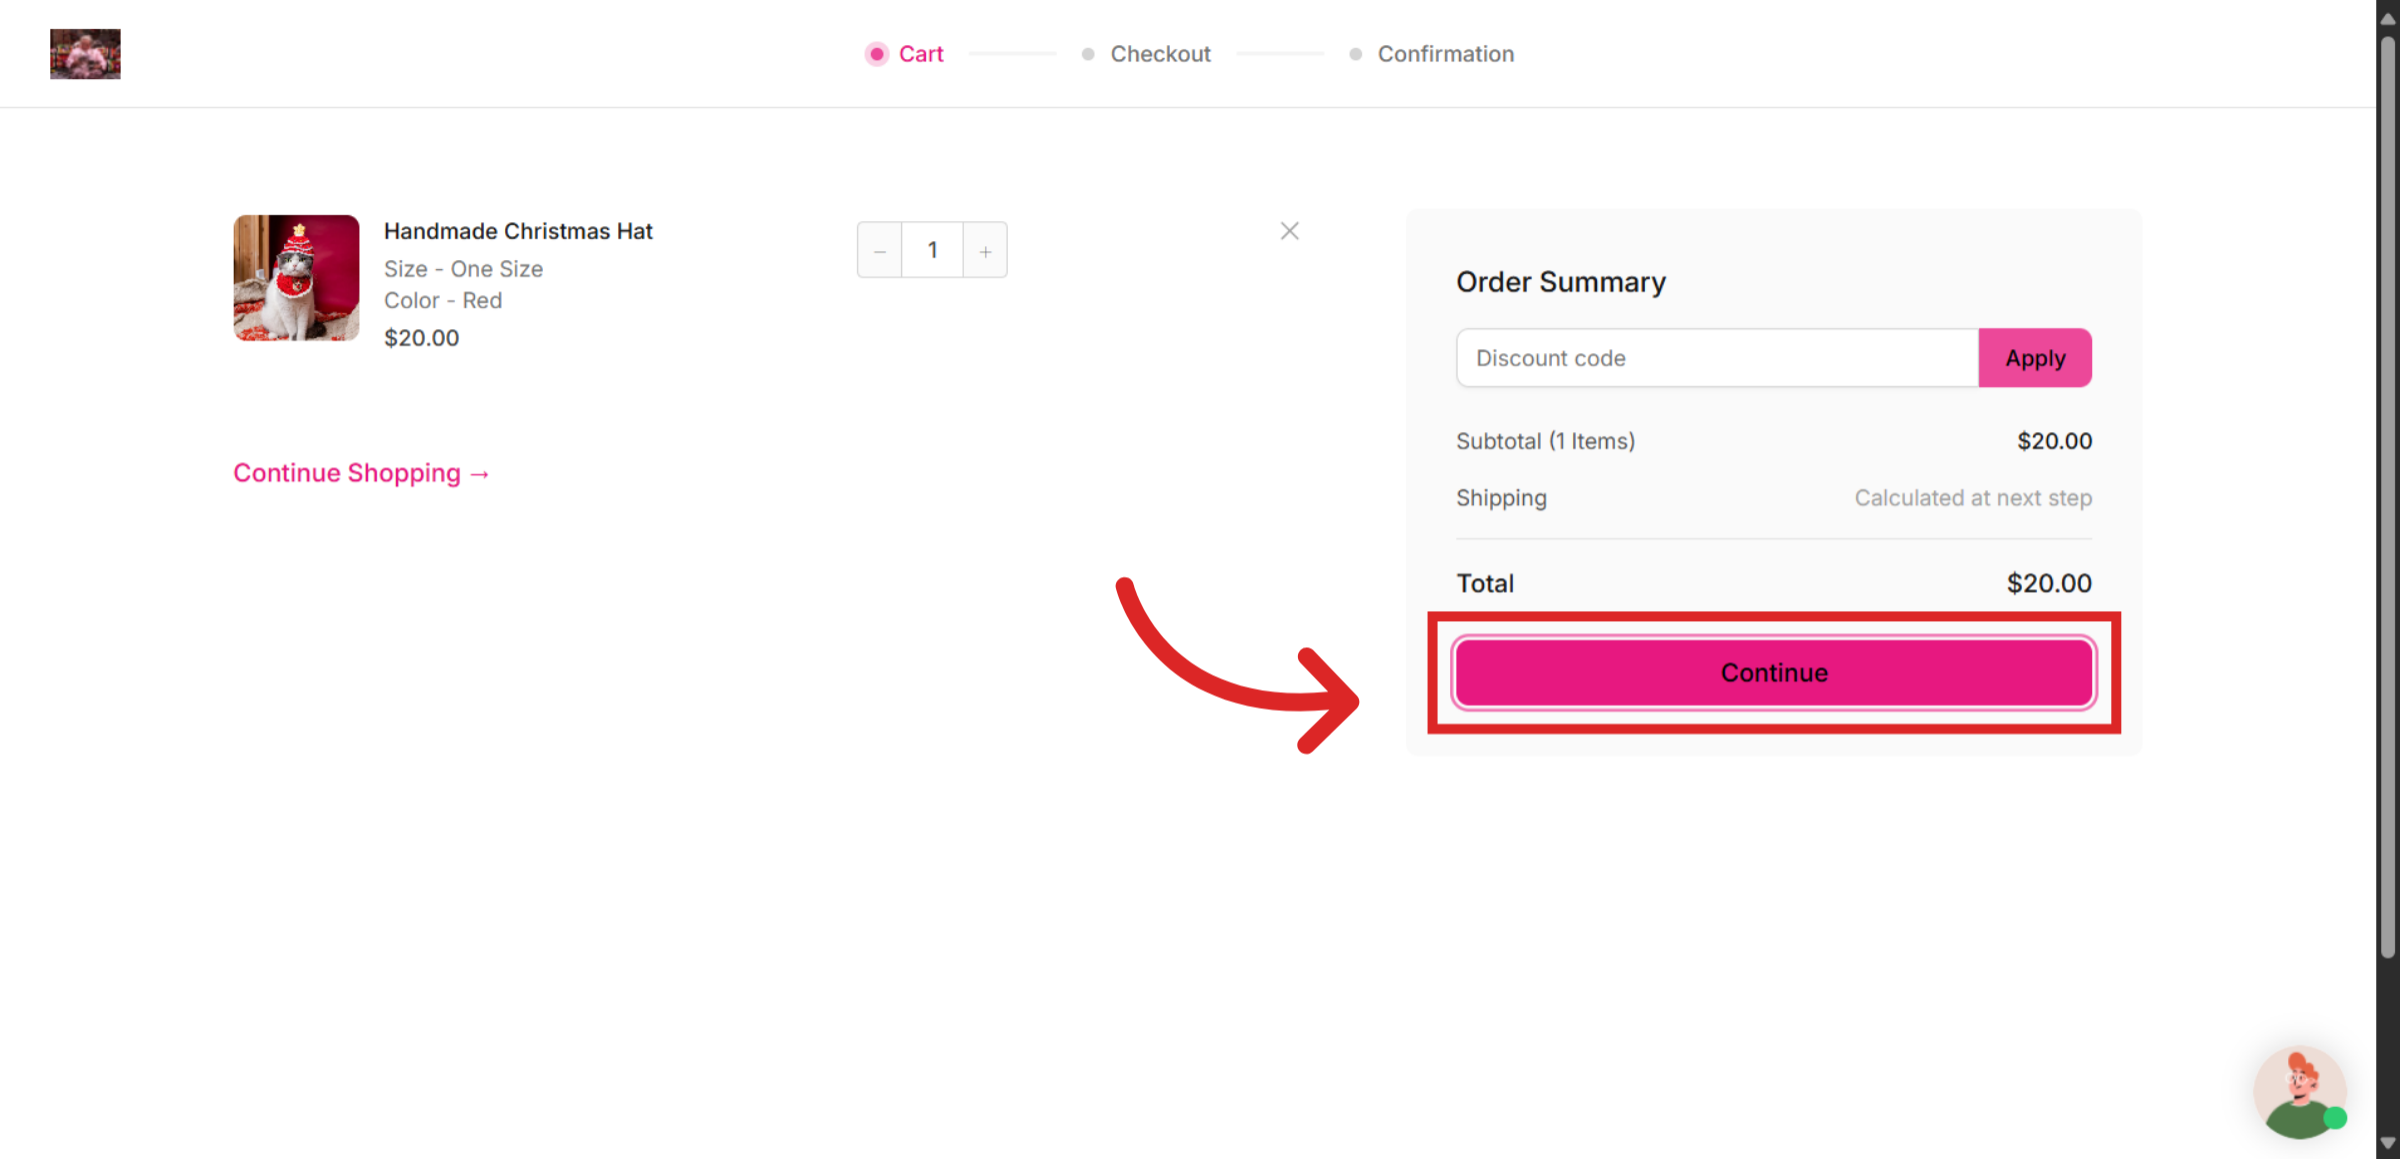
Open the shopping cart and click Continue.
In this page, customers can add their details and their preferred shipping and payment method. Once everything is done, click on Checkout.
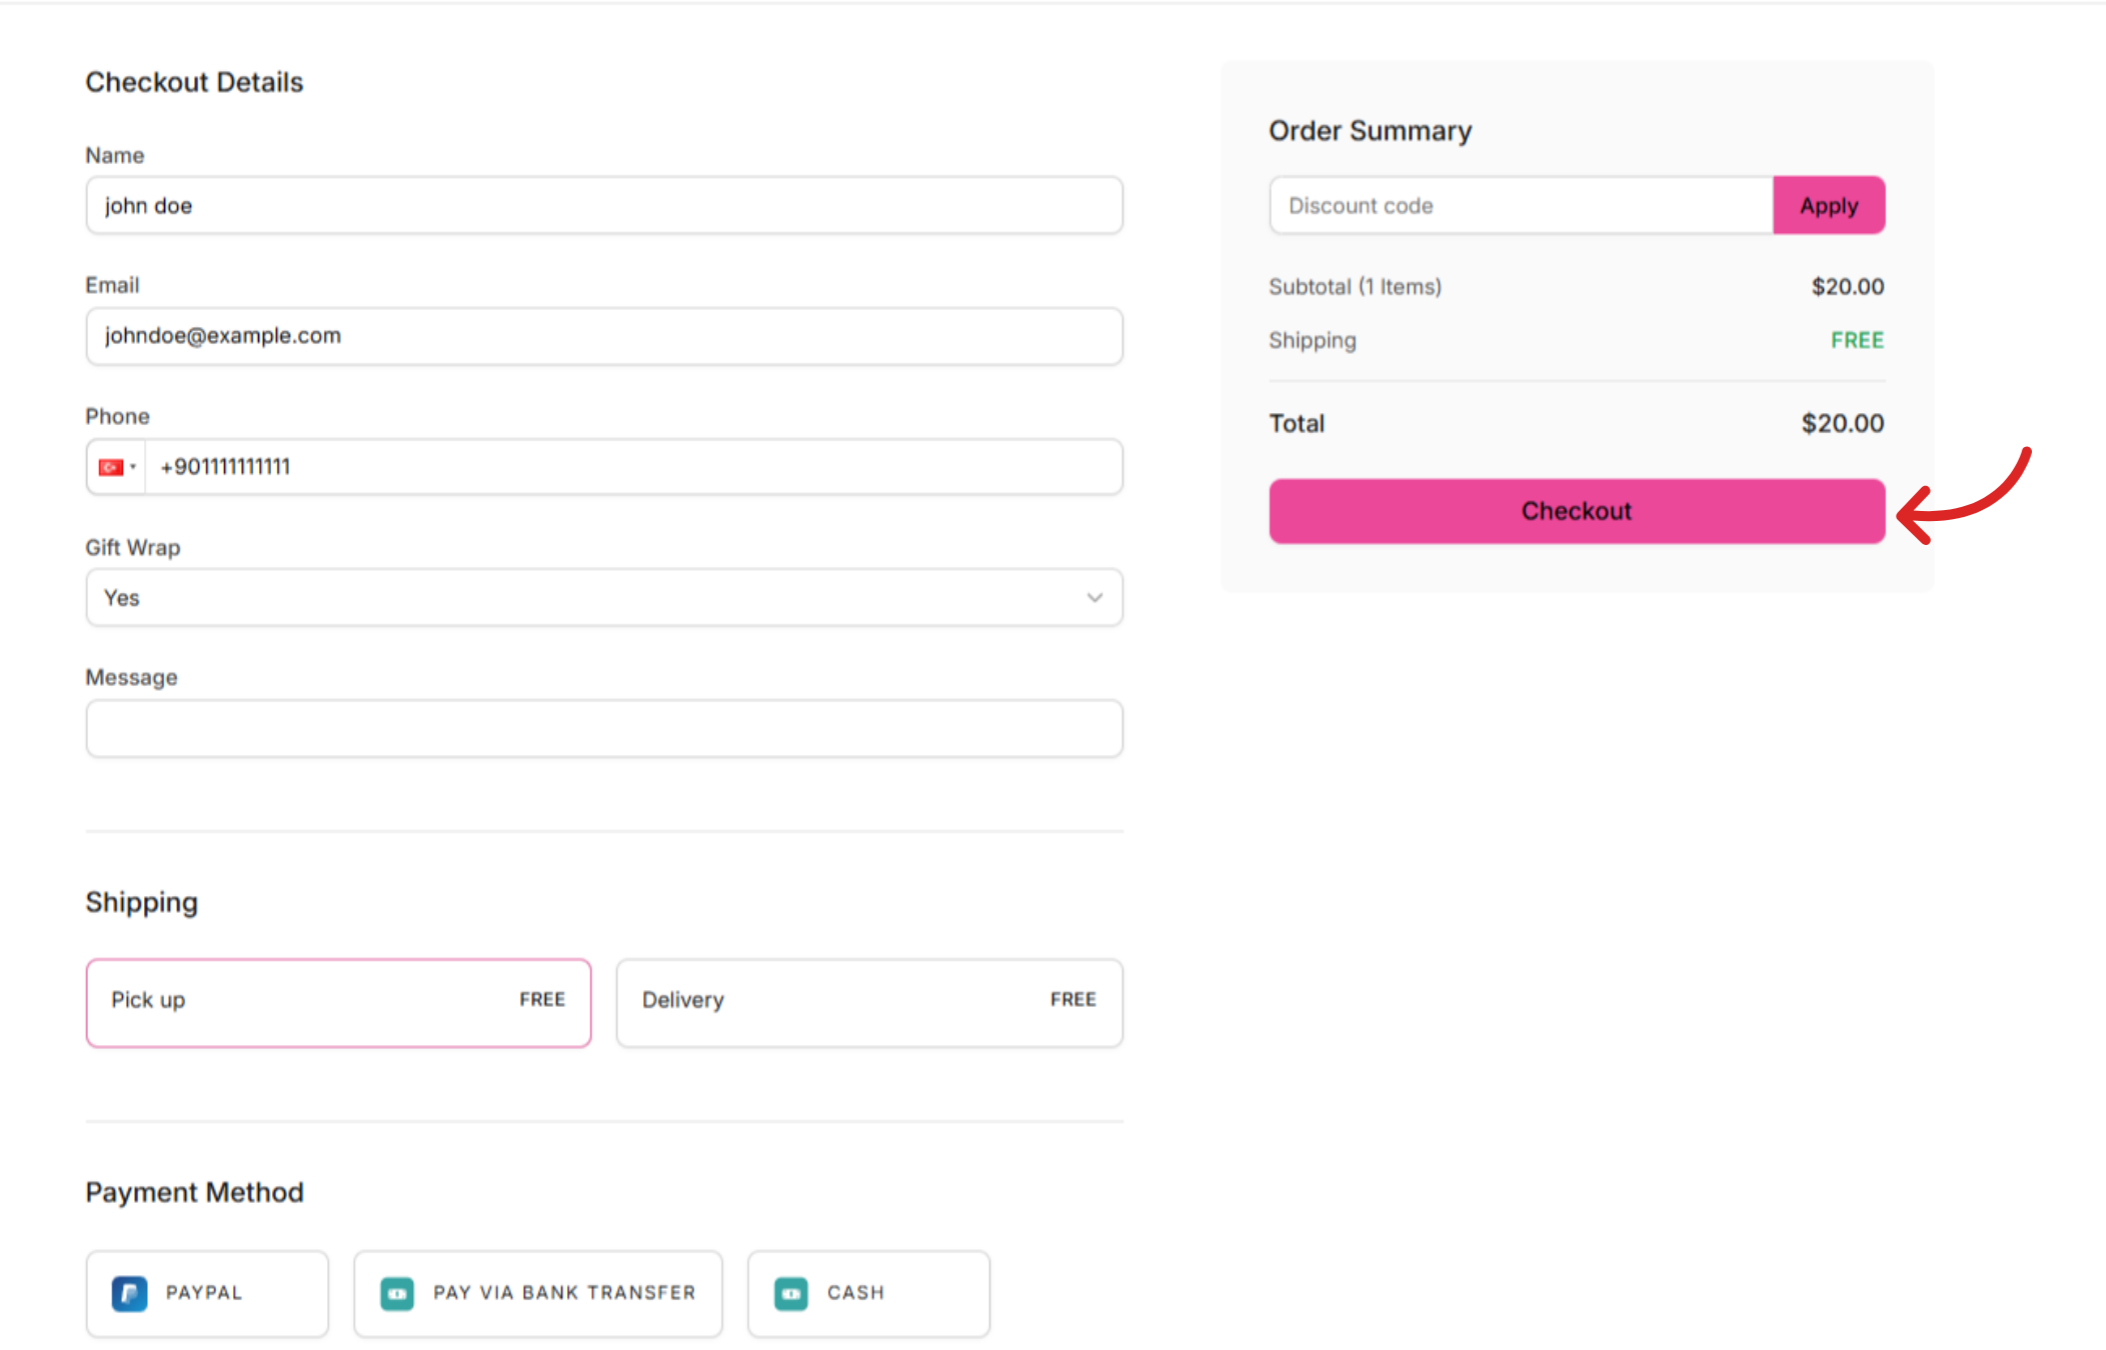
Your order is placed and on its way!
View Orders
You can find your customer orders on the Order Sheet and your Store.link dashboard.
Using the dashboard, you can track orders, update their status and manage everything in one convenient place.
Additional Features
Offering discounts is a great way to attract customers, boost sales, and reward loyalty. Under the Coupons section, you can apply discount coupons in your online store.
At the Analytics section, you can view your store's basic analytics such as the number of orders, total sales and user visits.
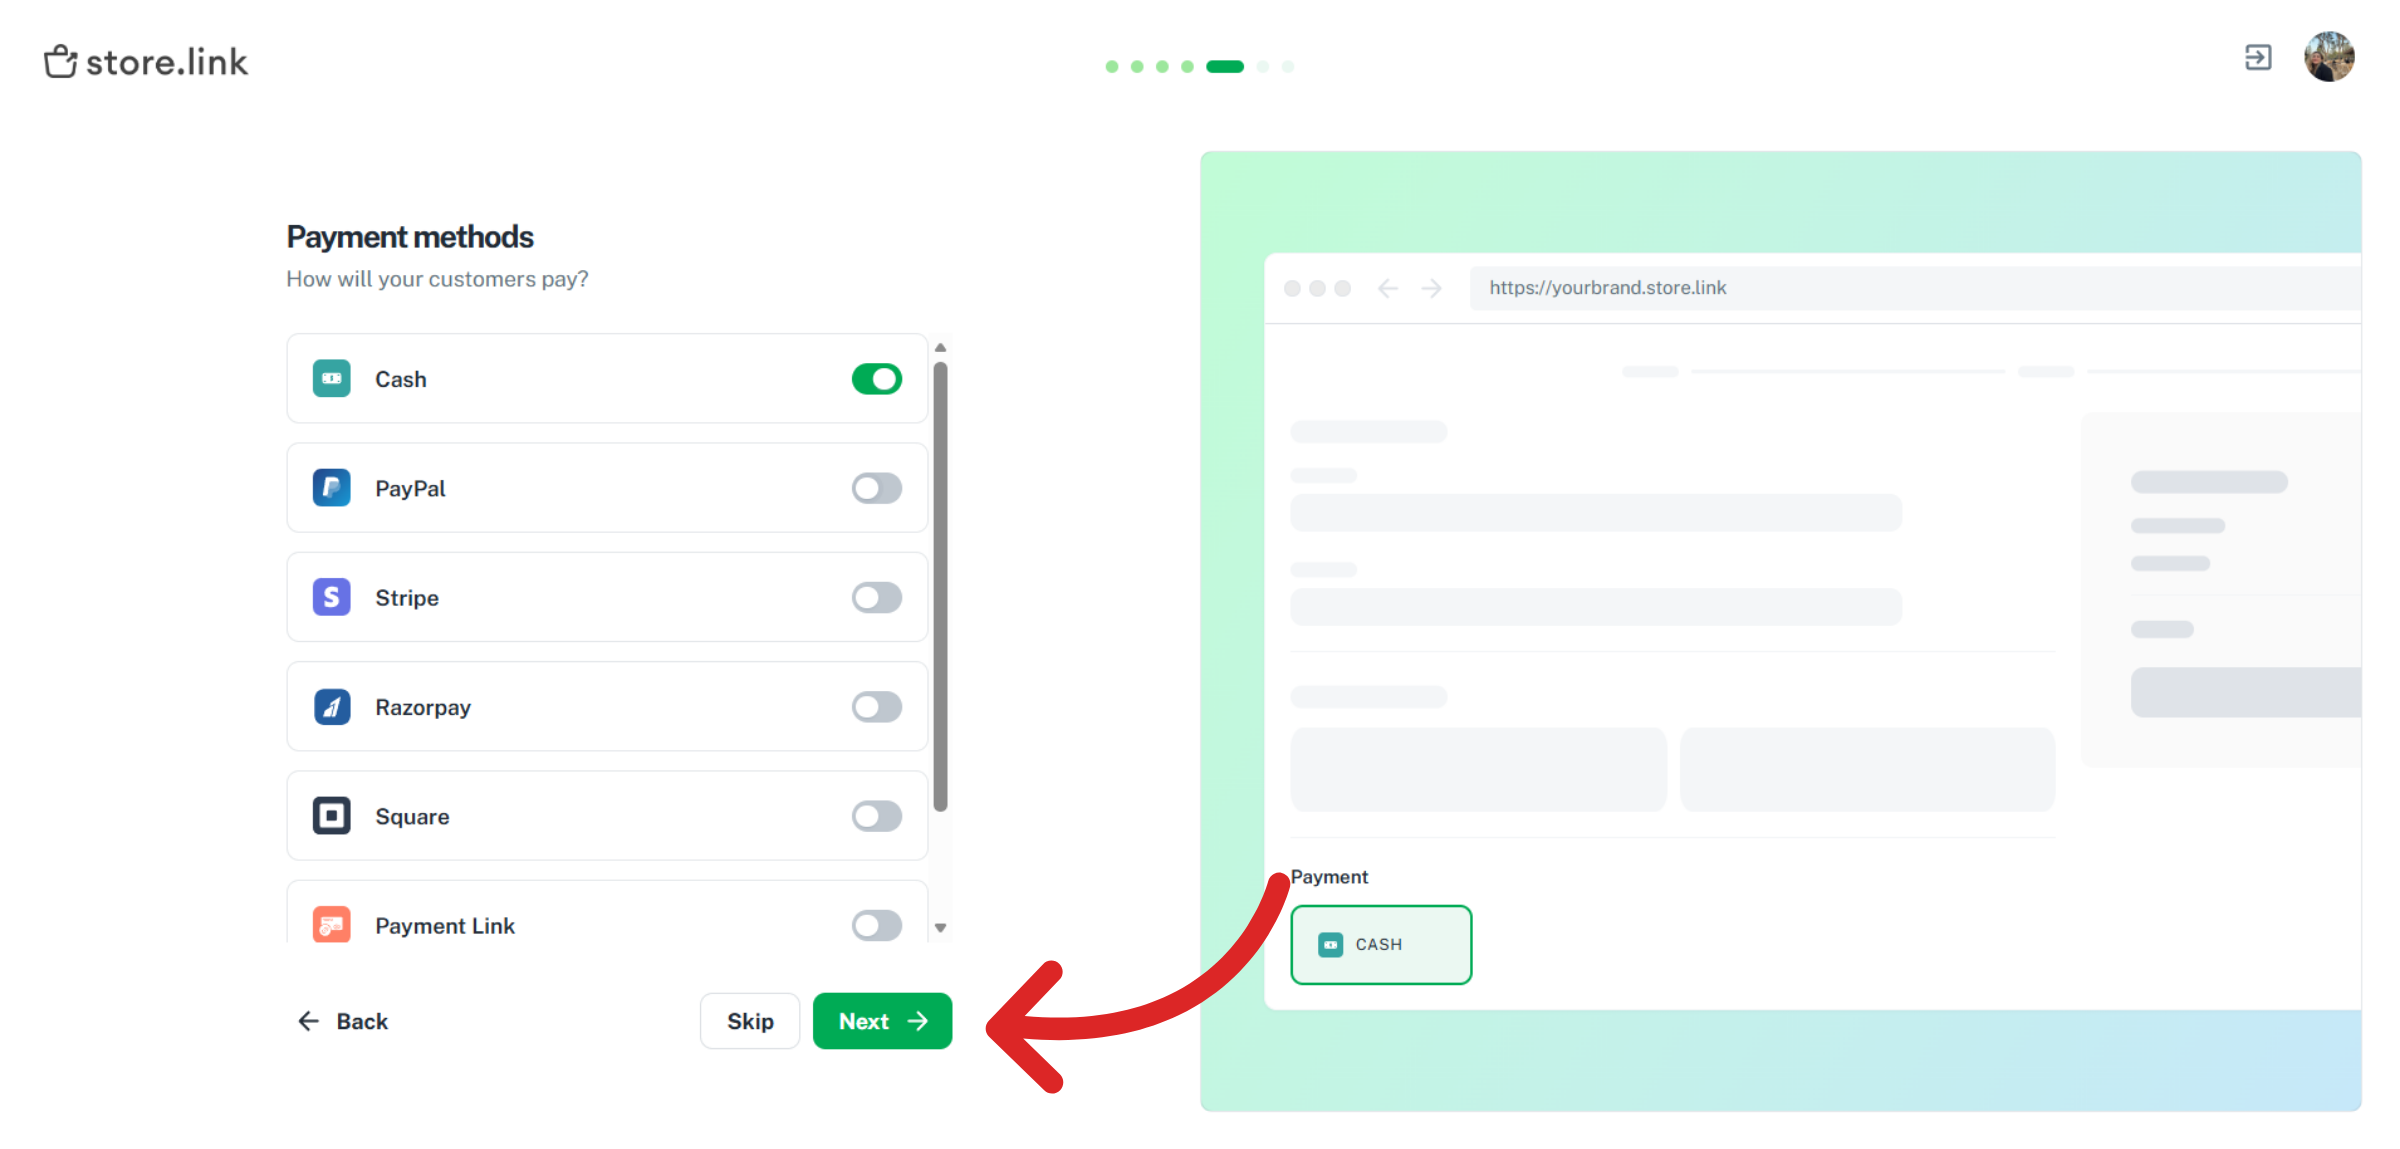
Under Settings, you can edit payment methods such as Stripe, Paypal and Razorpay.
Visit Settings > Shipping to add a shipping method to your checkout form.
You can edit SEO settings for your store at Settings > SEO. Here, you can edit your store's meta title, meta description, favicon, and meta image.
Still need help?
Contact us